The Quick and Easy Way to Clean Wood Floors in the Kitchen: The Self Cleaning Home Part 5!
The Bold Abode is a participant in the Amazon Services LLC Associates Program, an affiliate advertising program designed to provide a means for sites to earn advertising fees by advertising and linking to amazon.com as well as other affiliate networks.
If you are just joining us for this series, you can pop over to the Self Cleaning Home Page and start from Week 1!
This week, we are going to get down and dirty with the Kitchen floors. Remember, stay on each week’s task as long as you need to until it becomes a habit ingrained in the membrane! This is all about making your home run like clockwork so it doesn’t feel like work!
Now that you are totally used to keeping those dishes clean, let’s move to those floors.
And even though this post is going to have tips specific on how to clean wood floors in the kitchen, the basic idea is good for any type of flooring for sure.

The Quick and Easy Way to Clean Wood Floors in the Kitchen
So, where does the majority of the dirt really collect? In my kitchen it’s right along the edges. Now excuse the dire staights of the actual images of my kitchen. I let the dirt collect so you could really see it. At least, that’s what I’m telling myself right now! ha!

Um. Gross. And look at all those cobwebs below the cabinets. This is the perfect time to take care of that issue too.
So, the first thing to do is to just vacuum the edges of your kitchen floor.
If you try and mop it up first, you’re in for a world of hurt as you probably know. There’ll be weeks where you might want to skip this step but resist! Otherwise, you’ll end up with wet piles of crumbs and dust bunnies all around the room. Yuck.
To vacuum, I use my Shark Navigator Lift Away. Girl, I love this thing. You can keep your dyson because I can lift off the canister and get under just about anything. #thisthingrocks

Literally just go around the edges and get those crumbs and dust bunnies up first. Now, this is just a quick pass. Nobody’s striving for perfection here.
Then use the wand to grab those cobwebs under the cabinets, too. This should really take only about three minutes.
Next we’re going to mop those wood floors like a pro.
The best tool I’ve found to mop the wood floors in the kitchen is a Bona Mop. This kit is a great deal. It comes with the mop, microfiber pad, refillable cartridge and a big refill. Now, I know I make a ton of my own natural cleaning products, but this bona doesn’t smell bad and I don’t have a reaction to it.

But here’s the real trick to mopping your kitchen floors and all the stuck on spots.
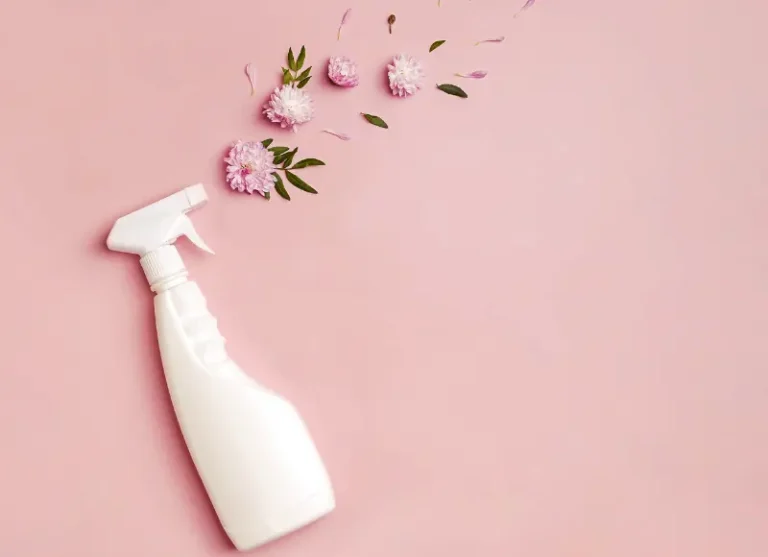
Before you mop the entire surface, go around to all the gradoo, i.e. stuck on stuff like the dried green juice pulp above, and spritz them first. Let them soak for a minute or two before you start mopping the floors.
After soaking for a minute, those spots will mop right up! Now if you’re really good, you’ll clean spills up right away, but there is always something I don’t see drop. Using this method keeps you from having to use a bucket-load of elbow grease when you’re cleaning your kitchen floors. Don’t know about you, but my elbow grease is expensive and I want to save it for a rainy day. 😆 😆 😆
So now, the floors sparkle and shine and it took me all of about five minutes to do this!

Here’s the plan for this week:
- Pick one day, I love Monday’s to do this, and get it really clean. Vacuum every crumb and mop every spot up. It might take you longer than five minutes the first time, but that’ ok.
- Then every day, just look at it. Do you need to vacuum up some crumbs? Grab your swiffer if you want a really quick and easy option without having to pull out the big vacuum. Do you need to wipe up a spill? Grab your bona and do a quick squirt.
- Watch your floors stay bright and shiny without feeling like you’re having to wear yourself out!
It’s so nice when you can have company over unexpectedly! If you’re following along and making each week a seamless habit, your kitchen is never going to be out of control. And a clean kitchen really does make the whole house feel clean. 😍
So, do you dread mopping? What’s your favorite mopping tool?
Let me know down in the comments below!
xoxo
Gwen
P.S. Remember, you can go back to week 1 at any time and start over if you need to!


I have a swiffer wetjet and it seems like whenever I use it on my wood floors you can see where it just smears. After I have given my floors a good mopping I need something to just clean up some spots on the floor when you get them. Any suggestions?
Thanks,
Linda
I love my bona mop! It has a microfiber cloth on it and it leaves the floor virtually streak free!
xoxo
Gwen