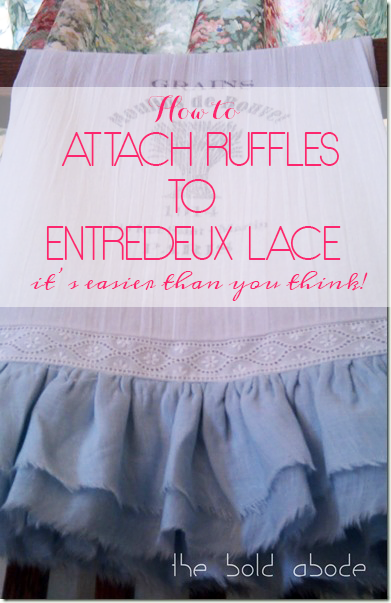
How to Attach Ruffles to Entredeux Lace
The Bold Abode is a participant in the Amazon Services LLC Associates Program, an affiliate advertising program designed to provide a means for sites to earn advertising fees by advertising and linking to amazon.com as well as other affiliate networks.
This Thanksgiving, we were invited by some dear, sweet friends to join them for Dinner. And boy, oh, boy, was I excited. I didn’t have to cook a turkey? Whooooo-hooooo!
I had one braided loaf of bread that my Swiss Friend, Ester’d made this summer. {no, don’t yak… it was still super-amazing even after 4 months in the freezer}
But I was tired of takin’ stuff to other peeps houses in plastic wrap and aluminum foil. Just like school in the summer…No Class…
Make a Vintage Bread Towel on Thanksgiving Morning, Gwen!
What a great idea!
You don’t have to cook, so pull out the sewing machine and ignore your family on what would have been an otherwise lovely, relaxing day.
Boy, I do miss sewing with lace. Bet you didn’t picture me as a lacy girl…with 2 boys at home. No, I didn’t make ‘em wear lace…well, just once.
It’s pretty easy to attach Entredeux lace…
How to attach Ruffles to Entredeux Lace
First, you’ll need some fabric for your ruffles. I used some leftover Handkerchief Linen. It makes gorgeous ruffles, yo.
Cut an 8” strip and fold it over to create a double ruffle. Leave about an inch so it looks like 2 strips.
Sew 2 loose basting rows. Yes, 2. I know there are three there. I messed up. Shocker.

Gently Gather.
Cut a piece of lace the width plus 1” of your towel.
Sitch as close to the Entredeux as you can possibly get. I mean like it’s a warm and fuzzy bear rug and you’ve got frostbitten toes kinda close…

Turn it over and iron lightly.

Trim pretty close to the seam.. Closer than I did in that picture down there.

Take her back to the machine and set the zig-zag stitch just wide enough so it hits the seam and then goes right over the edge. This will encase the seam with what is called a “Roll and Whip”
Yeah, Whip it…Whip it good..nuh, nuh, nuh, nuh… Crack that Whip….


Turn her over to the right side and iron her out nice and flat.

Finish the sides by turning under each end twice, 1/4″ each time.
Sew your ruffled strip and Flour Sack towel, right sides together.

Trim the seam…

And ‘roll and whip’ that sucka….

Turn her over and iron flat.

Then go to my friend Jill and see how funny she was her great instructions for freezer paper transfers…

Then, go get a great Vintage picture from The Graphic Fairy…umm…cuz she has fifteen hundred gazillion and they’re FREE…
After about 20 tries, you’ll get it right and then be soooo glad you kept tryin!

So there ya go… Remember ‘roll and whip’… Whip it good!
Then eat that bread…but forget to take a picture of it…yeah…that’s an awesome idea.
UPDATE: We’re now Gluten-Free and this was the last Swiss Bread I ever ate. So glad I documented it for posterity.


HAHAHAHAHA! Of course I read every word of your posts (I'm not a photo-skimmer) and when I got to 'my friend Jill', I was thinking, 'wow, she knows another Jill who had a freezer paper transfer'…DOH! ME?
Thanks so much for the mention and I'm happy to have helped a little in this project; it's awesome. Love the graphic – that's one lucky friend of yours to get this very pretty towel 🙂
Hope your hand heals quickly – we need to see more of your projects woman!
-Jill @ Junky Vagabond
How pretty! I love the ruffles. Great idea of folding them over to create two rows. The lace is a lovely touch and it all works well together.
I love that combination of fabrics. It's pretty and kind of dainty but not over delicate. It definitely turned out better than my Thanksgiving sewing.;)
Gwen! I freaking LURVE to read your blog!
I just wanted to let you know that I am giving you the Liebster Blog Award. Check out my blog to see what you do next!!
I'm here a visitin from Ashley's place. What a GREAT towel and idea!!
I hope your hand heals quickly.
The towel came out awesome!
Dee
So glad you decided to put down the drill and pick up the lace. This looks amazing. I love your blog. I'm your newest follower.
Would love to see you DIY Home Sweet home.
Jamie
https://diyhshp.blogspot.com/
P.S. I have a linky every Monday. Would love for you to stop by and link up.
Very pretty.I am a new follower, come visit me as well.
Oh yes, you whipped it good. I love it.
OK. You had me at your 'Whip it' title. Then I read the whole thing. ENOUGH! You're hilarious, clever (like me….imklvr), and now I'm a stalker..er, follower. Sorry, don't have a blog myself, I jus' let all you brilliant peeps do the work! 'Sides, I'm a great-grani (yes, with an i) so I only have time to read! Thanks so much for this lovely idea. You did a beautiful job of it! Oh, and can I borrow your Swiss friend?
out of the bajillion of posts I've been perusing this morning – yours caught my eye & I had to click over – so glad I did. Beautiful project!
http://www.northerncottage.blogspot.com
Very cute idea, for sure. Darling towel!
Visiting from BRAG MONDAY at Graphicsfairy 😀
From Chilly NW Illinois,
Suzanne at WhyCuzICan
So very creative! Congratulations from Spain!
Hi Gwen, i popped by from Graphics Fairy, and I love your teatowel, so cute! and I've ended up trawling through your hilariously funny and creative and different (in a good way) blog. i love the way you write.
Thanks also for your 'Hi' message when I followed you. Yes I do blog, I have a rather insignificant little blog that you are welcome to pop over and visit!