The Secret to Making a Super Cute Fabric Flower Headband
The Bold Abode is a participant in the Amazon Services LLC Associates Program, an affiliate advertising program designed to provide a means for sites to earn advertising fees by advertising and linking to amazon.com as well as other affiliate networks.
 There are fabric flowers…
And then there are Super Cute Fabric Flowers.
I’m going to show you how to make the latter. Who just wants a regular, plain-ole fabric flower anyway?
Not me. And I’m guessing you don’t want to be ordinary either, right?
And I have THE secret. The secret for the easiest, cutest fabric flower on the planet.
And I’m sharing it with you. Don’t tell anyone else, mkay? {j/k! tell all yo friends to come see how easy this is!}
So let’s get it on!
Super Cute Fabric Flower Headband
supplies
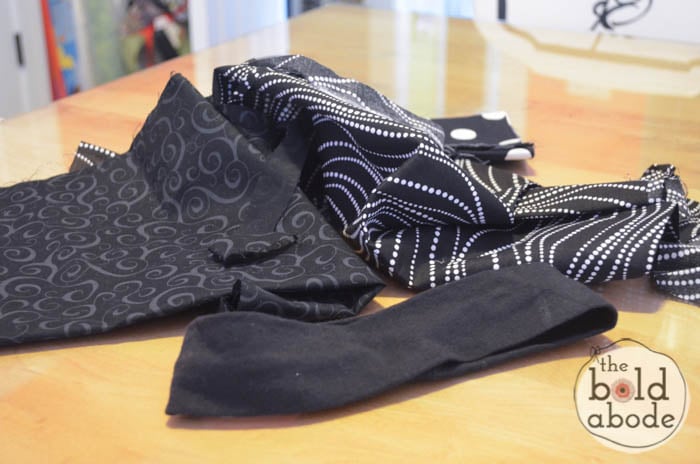
- Super cute fabric scraps
- Stretchy fabric headband {got mine from Target}
- Needle and thread
Dig through your fabric stash and find the cutest fabric you can find.
This was mine…leftover from my stockings that I’m going to share in a few days!
Step 1
Cut two 26-28″ strips of contrasting fabric. You’ll want the main fabric to be about 2 1/2 inches wide, and the contrasting fabric 1 1/2″ wide.
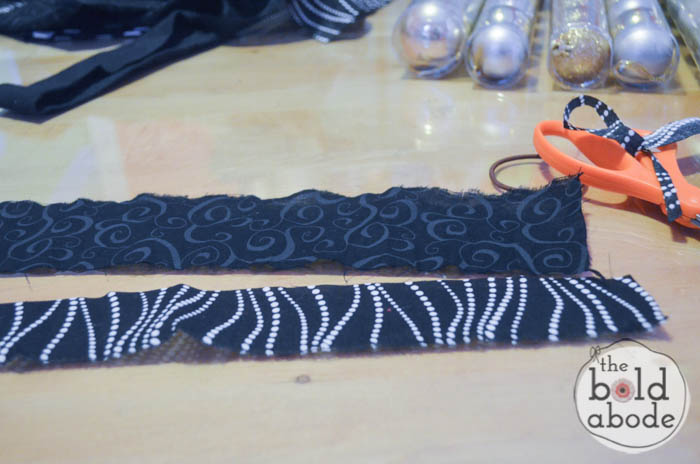
That is my secret. Can you handle it? I know you just want to jump out of your chair and shout to the world
Doh. Why didn’t I think of that!!!
It’s the two layers of fabric that makes it SuPeR cute instead of just regular-ole-cute. So. freakin’. awesome.
Step 2
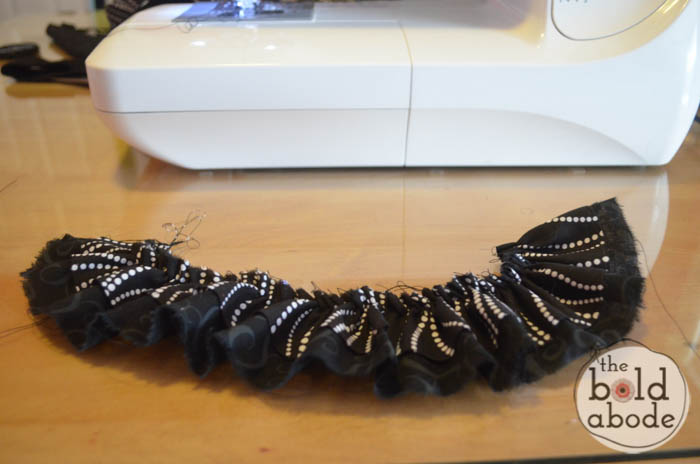
Lay the contrasting fabric over the main fabric, and with edges even, stitch a row of basting thread. You can see more detailed instructions in my post on how to make a ruffle.
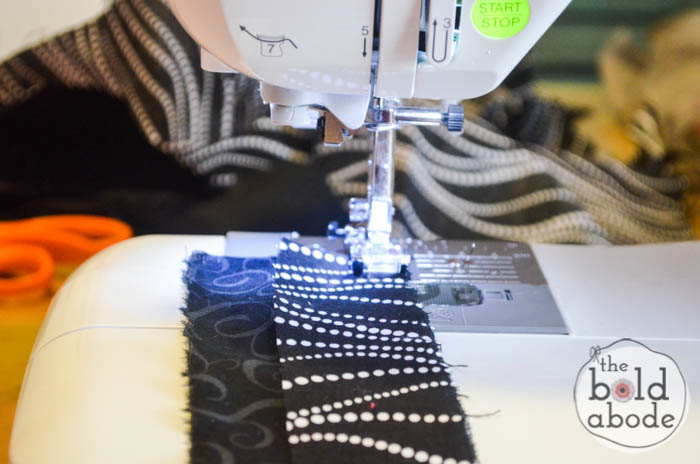
Now, you can hem your strips if you want a finished edge, but I love the frayed edges.
And not because I’m lazy. No-siree. Not a lazy bone in my bod. {ha.ha.ha.}
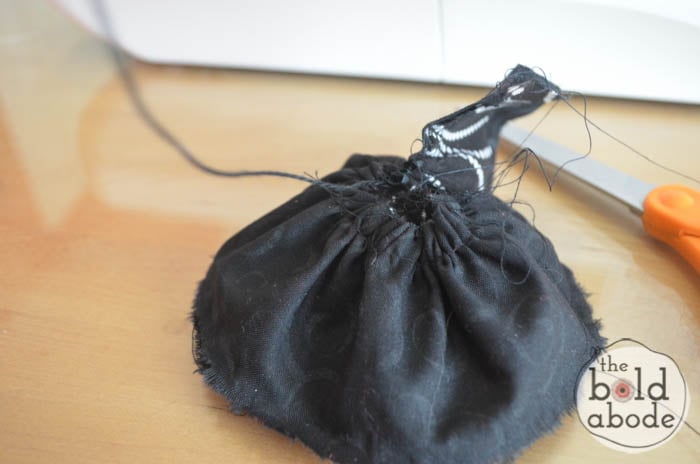
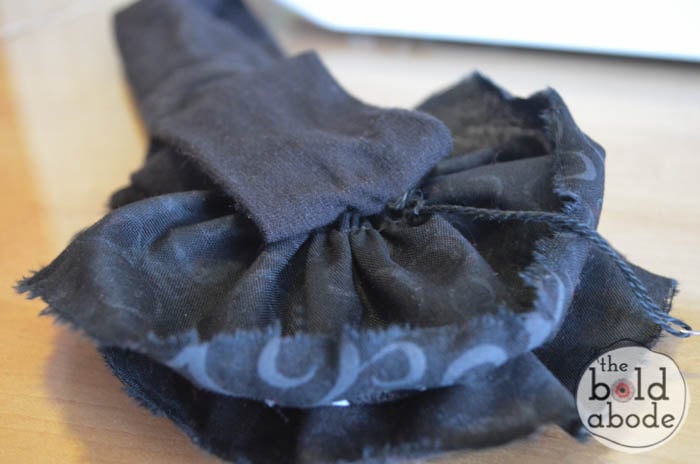
Step 3
Separate the threads and…
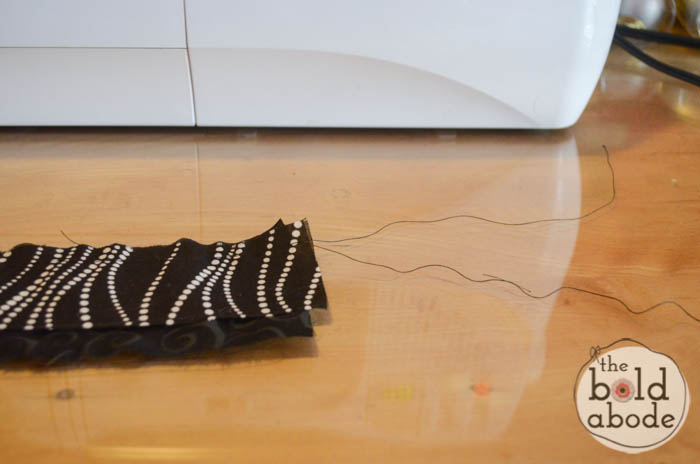
Pulling the bobbin thread, carefully gather the fabric as much as you are able.
Dont’ be a freak like me and break the thread. Then you have to pull it out and start over!
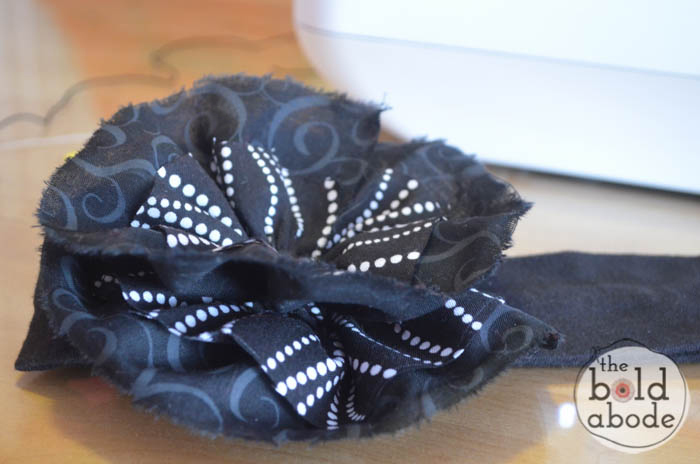
Step 4
You are going to wrap the ruffle around itself in a circle.
First, thread your needle and tie off on the end of the ruffle.
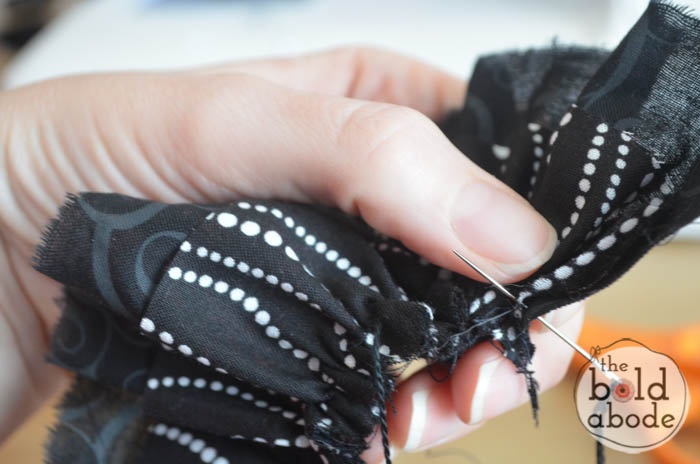
Then start tacking as you curl the fabric.
You are actually gathering the gathers! Shoop-shoop!
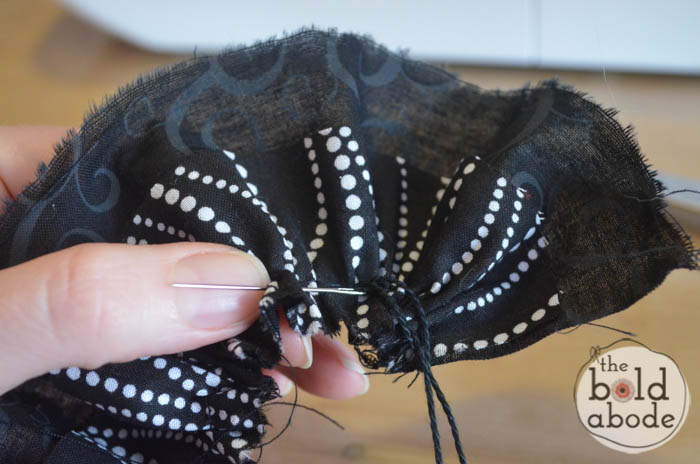
Keep going.
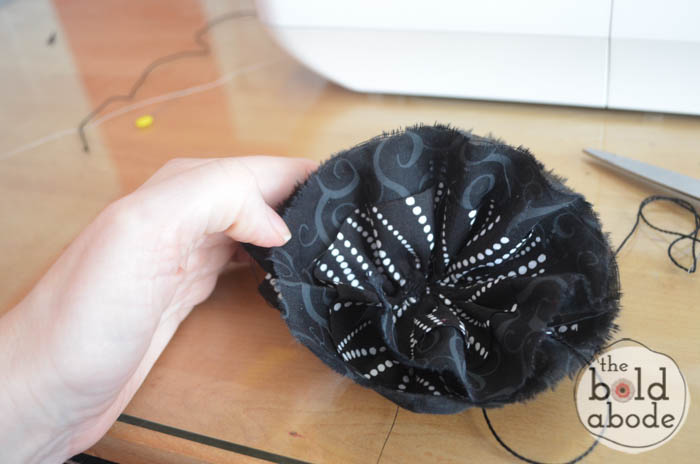
If you look closely, you will see the layers wrapping under. Mine made almost two full circles. Not quite, but almost.
Step 5
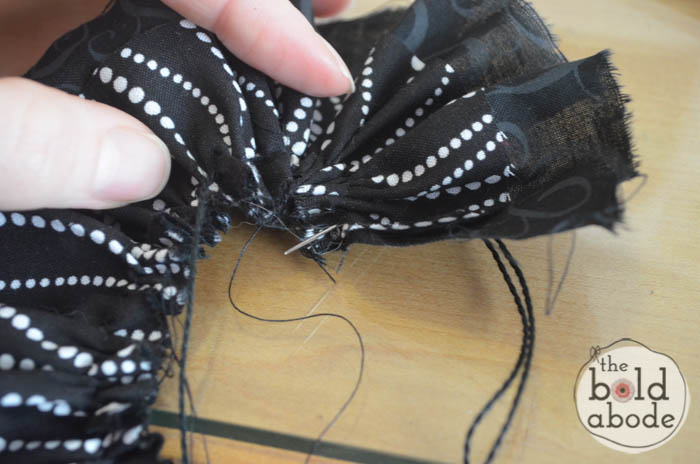
Turn you flower over and start tacking the layers together.
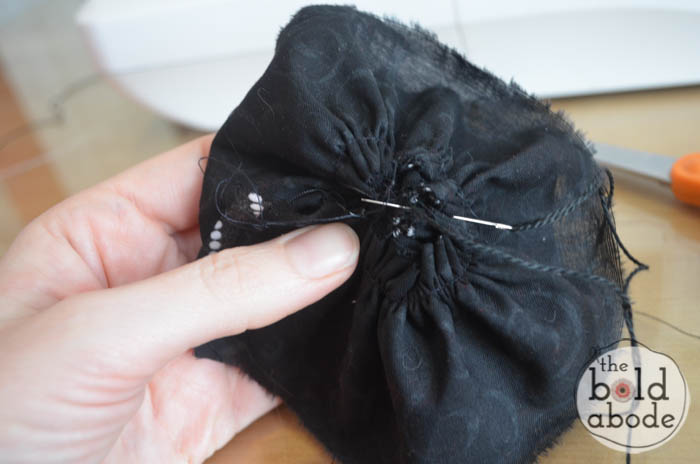
Make sure you’ve sewn through all the layers. You don’t want your super cute flower to unravel and look funky.
Step 6
Once you’ve gotten everything secured, grab your stretchy headband and start tacking the flower to the side.
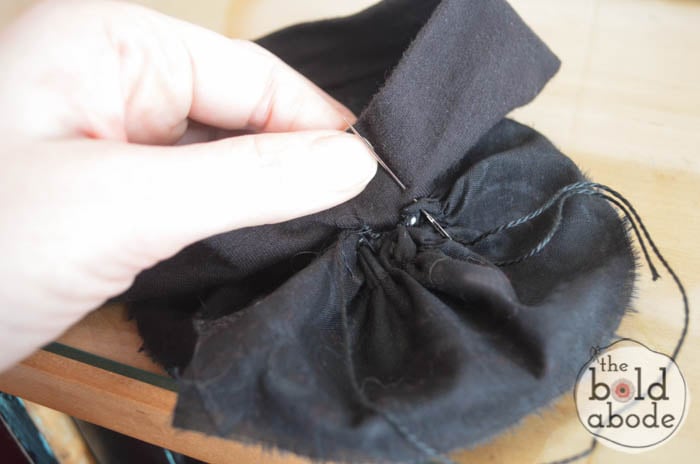
Work your way ALL the way around the flower so it doesn’t flop around.
Tada! You’re done!
Was that not so easy?
And how cute is it?
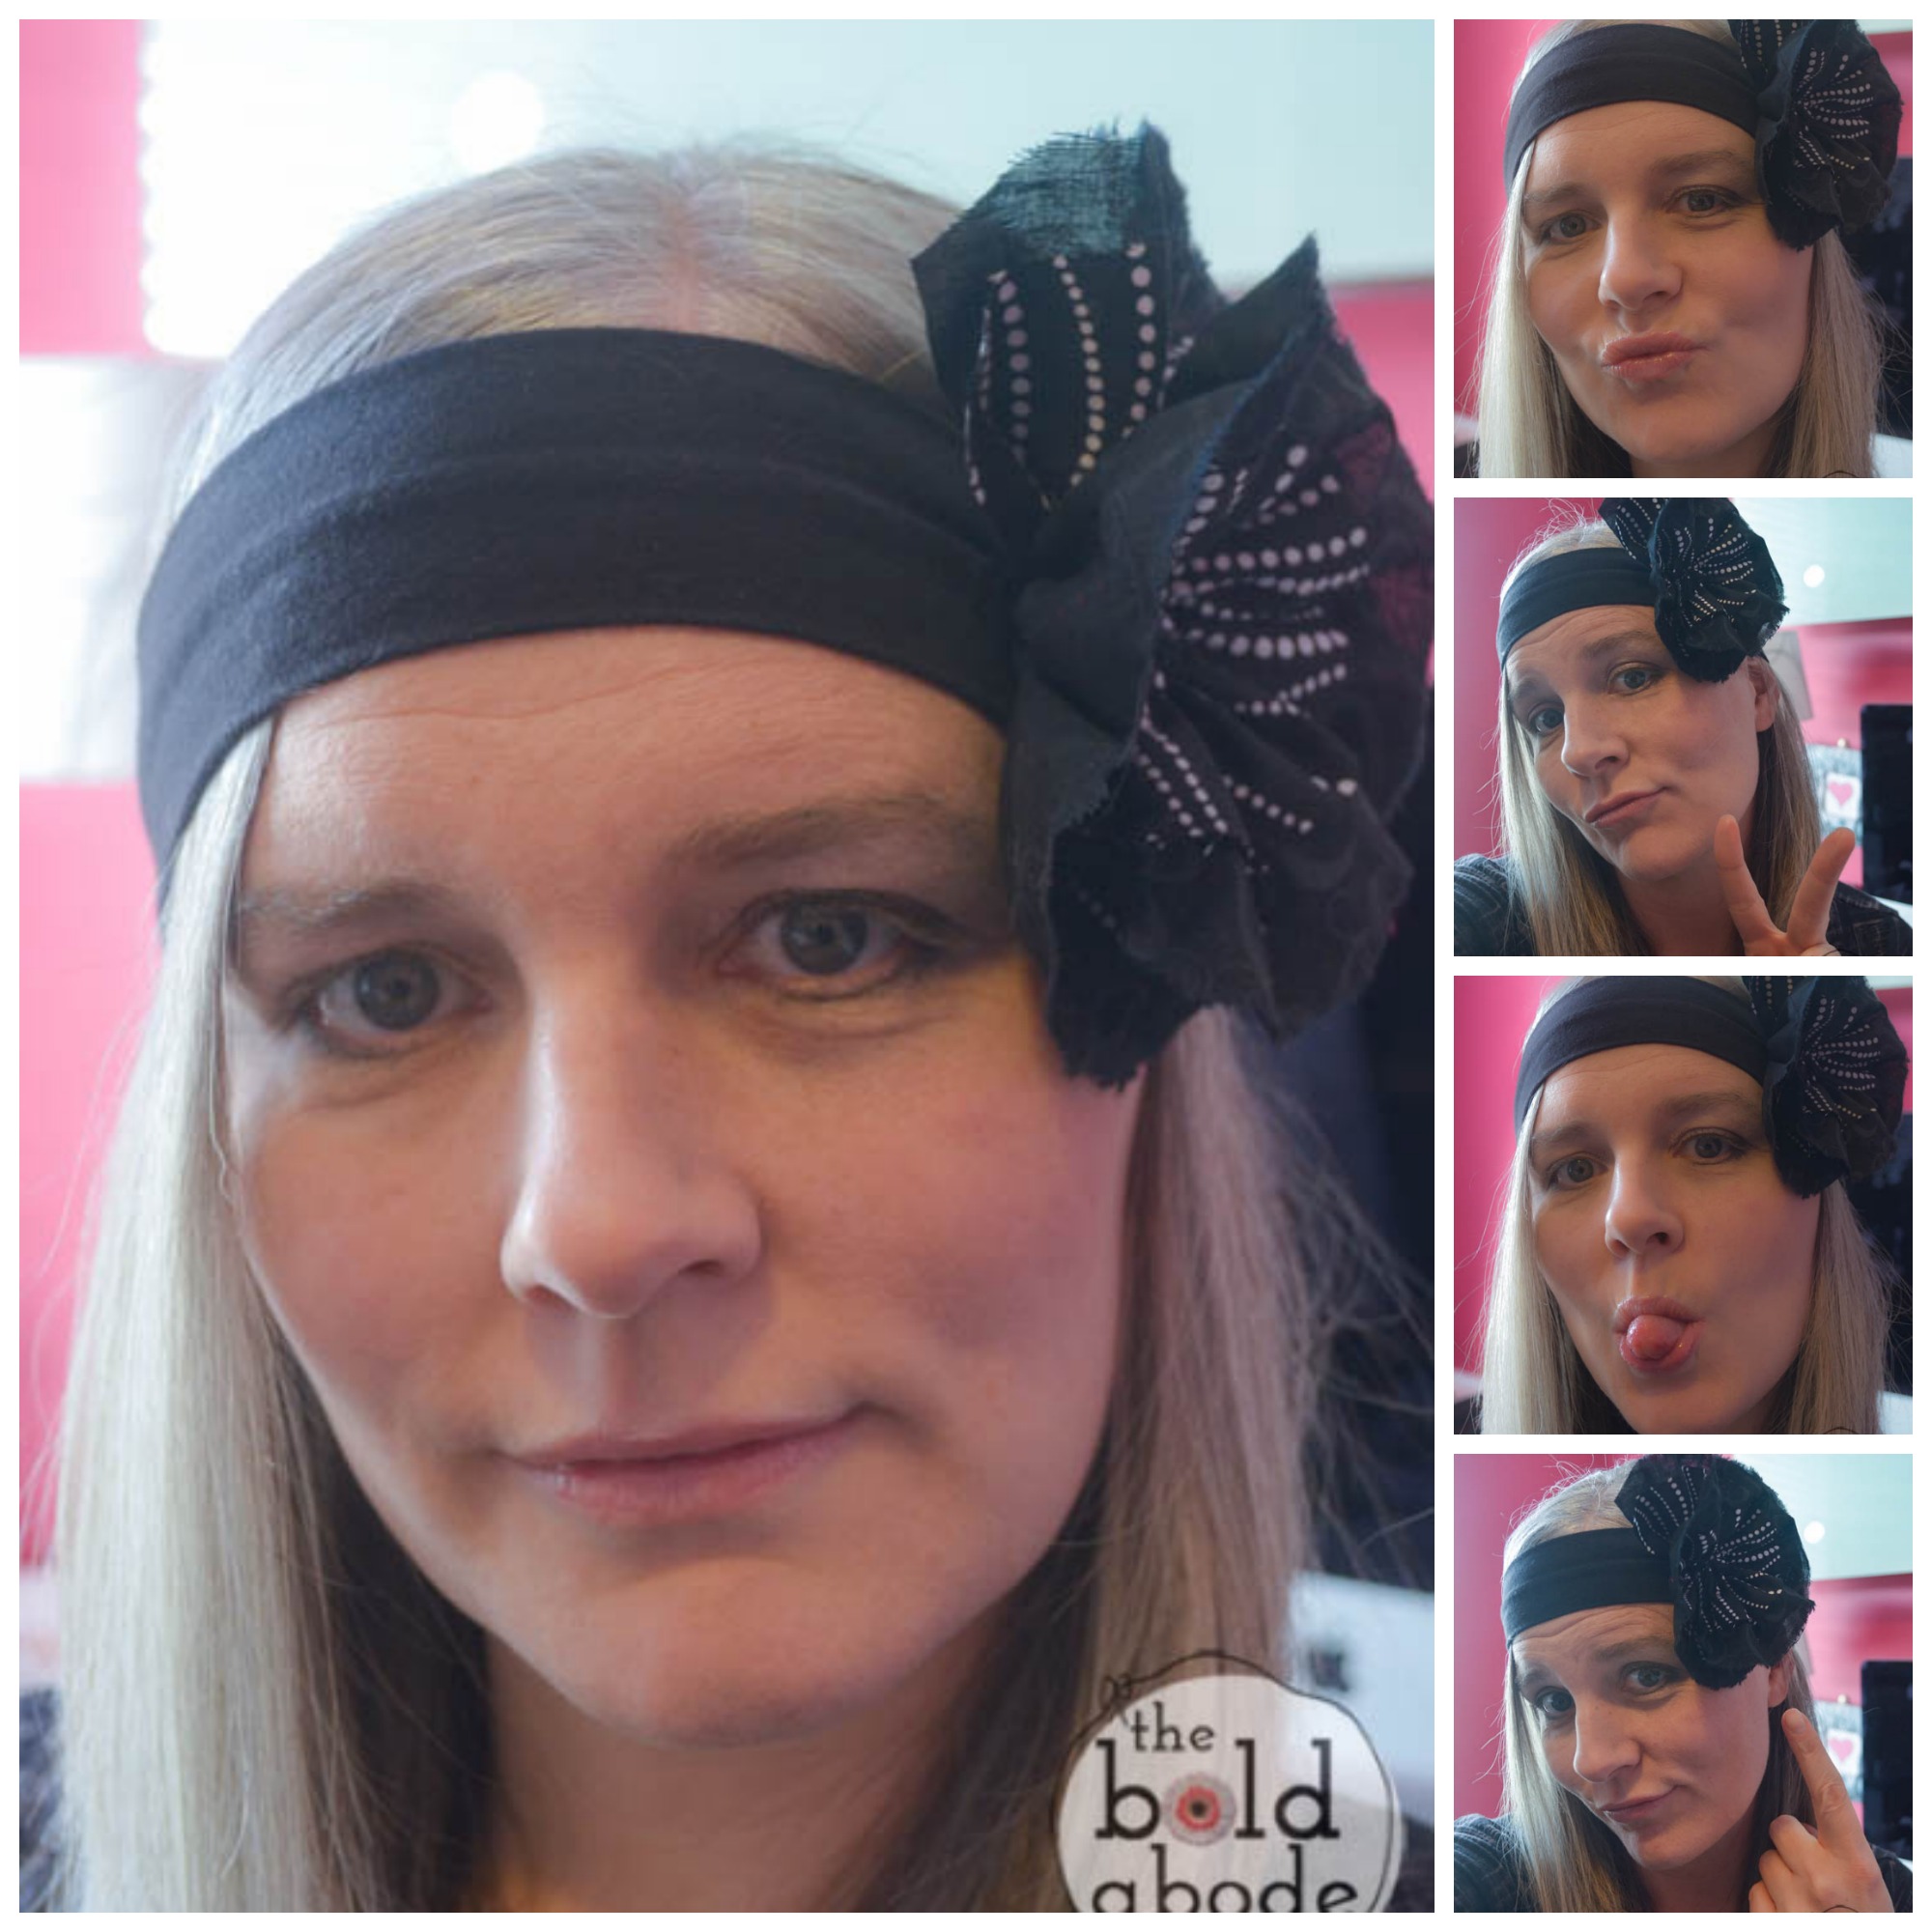
Supah-cute, baby!
So, how many do you think you’ll make this Christmas?
Once you start, you might not be able to stop. Just warnin’ ya!
Can’t get enough? Check out the SuPeR Cute Vintage Inspired Apron series I just wrote.
It tells you step-by-step how to make it!


you are too cute!!!! you rock that headband!
Haha! Thanks, Cassie! I’m starting to feel like my ole self again… I’m ready for some fun!
So cool – love how thorough your tutorials are! Ummm, the pics at the end of your post are awesome!
Haha! Thank you, Keri! This was a really fun one to do!
You’re the best! I love this super cute headband 🙂
Oh, thank you, Amanda!
Wowza! That is super cute! I don’t know if I could pull it off quite as well as you do, but I should probably give it a try just in case, right? 🙂
Hehe… thank you! And it’s all in the attitude, baby! You just have to believe you can.ha!
you are so adorbs!!! xoxo
No, you are!
Thanks, girlie!
Totally adorable! Small one would go nuts!
She would look adorable in one! Do they make stretchy headbands for little heads?
It looks adorable!!!
Thank you, Dee!