DIY Chalky Finish Crates
The Bold Abode is a participant in the Amazon Services LLC Associates Program, an affiliate advertising program designed to provide a means for sites to earn advertising fees by advertising and linking to amazon.com as well as other affiliate networks.
You know what makes my day? Besides greeting smiling faces at the door after a long school day?
Getting stuck into some DecoArt Chalky Finish Paint. It’s me-time sqaured and rounded to the nearest tenth.

This morning I was hankering to put my mark on something and I realized that these three crates which house my apples, onions and potatoes were SUPER DUPER boring.

Blah-zay.
And you know we just can’t have there here over at The Bold Abode. Chalky Finish Paint to the rescue, baby. This particular day, I was feeling a bit angle-y.
How to Make DIY Chalky Finish Crates
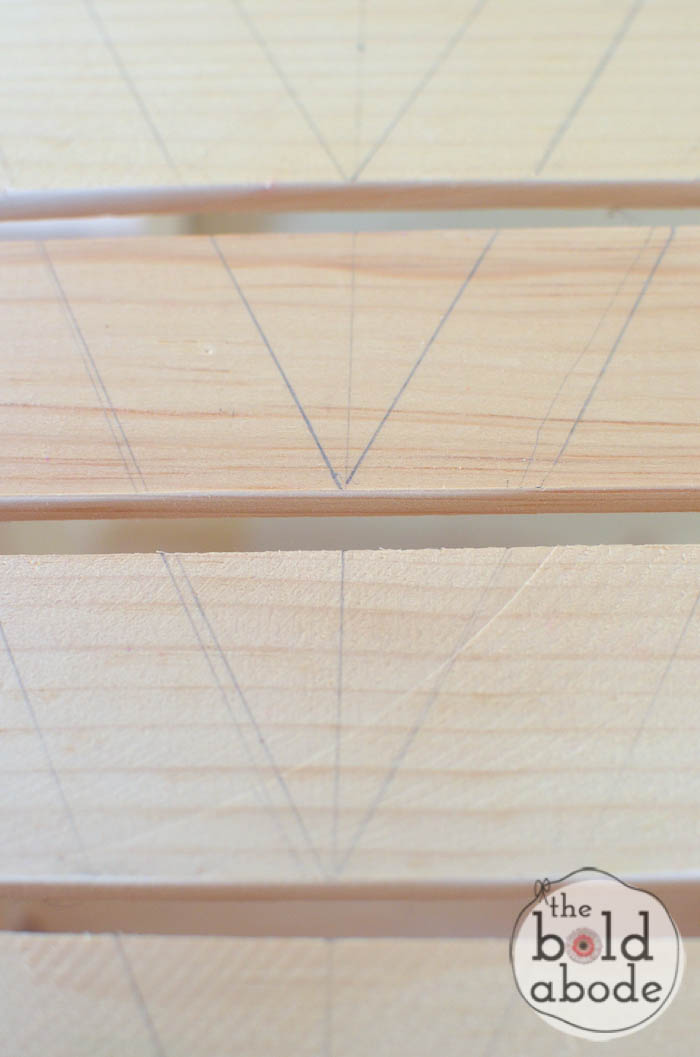
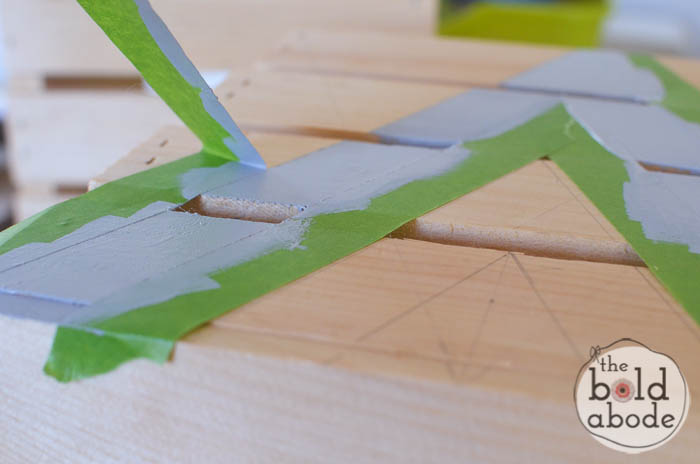
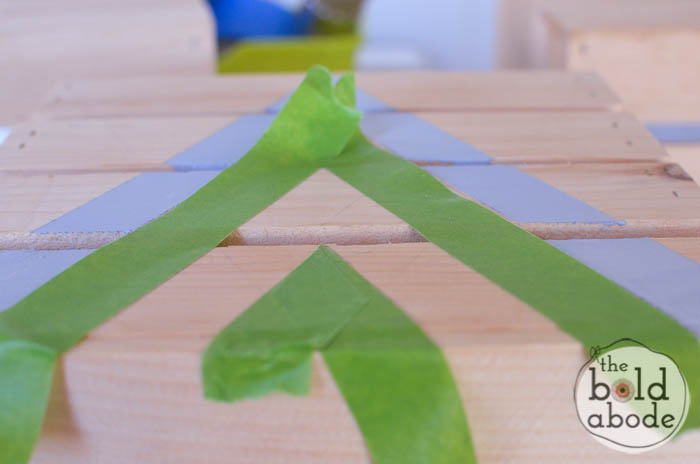
First, draw your pattern.
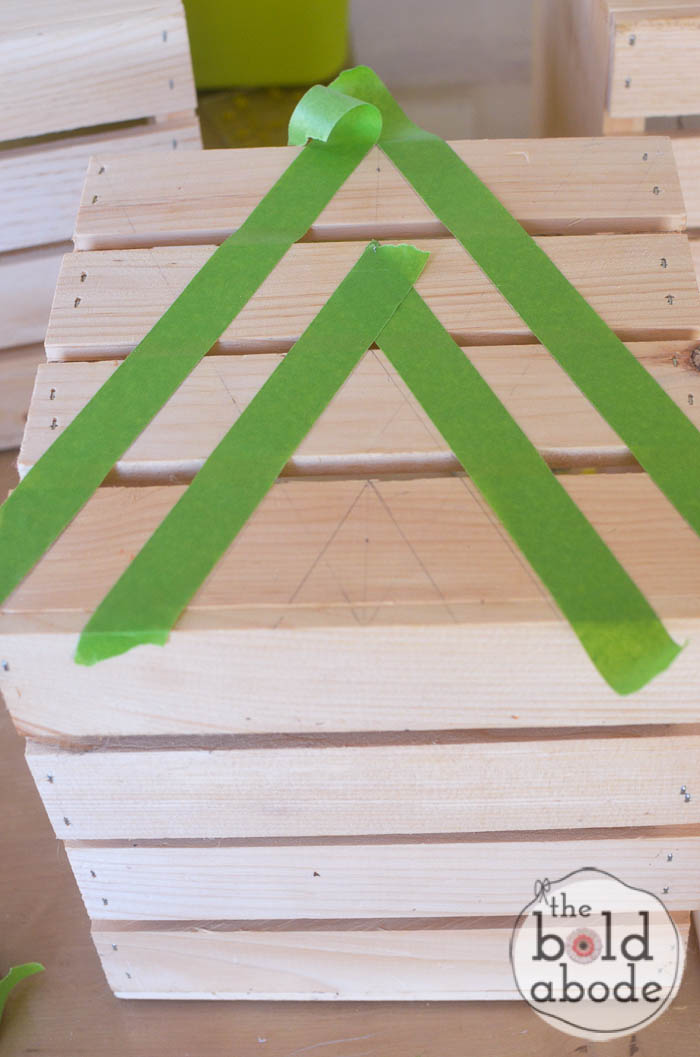
Then tape it off accordingly. {As opposed to accordianly…it might sound fun, but I think that could get a bit messy.}
I chose to use two Chalky Finish colors, Legacy {the blue} and Yesteryear {the light gray}.
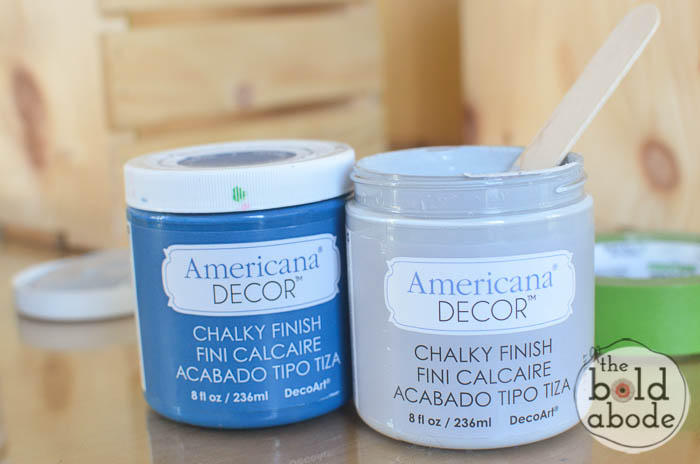
I must have been feeling a bit nostalgic.
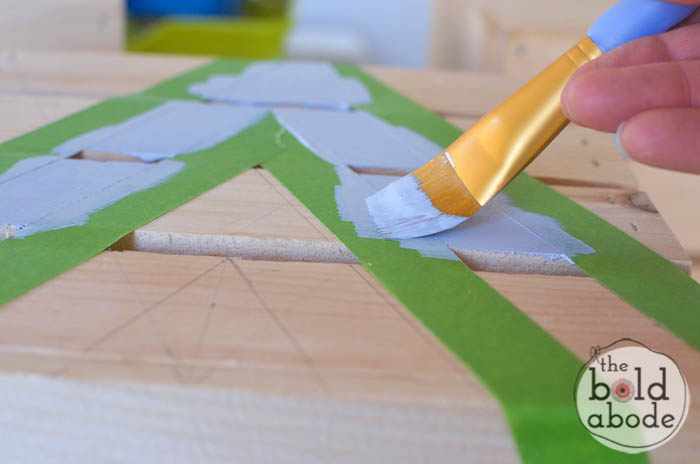

When you are done painting, pull up the tape while it’s still wet.
Repeat for the contrasting color.

The new {bolded-up} crates are a fun addition to my otherwise traditional kitchen.

I love these little crates. And I love how a simple update can really add a pop of color into your life!
Have you ever used the Chalky Finish Paint? What’s your favorite color?
Visit the DecoArt Chalky Finish website for more chalk paint ideas and inspiration!


