DIY How to Prep a Concrete Slab Floor for Painting
The Bold Abode is a participant in the Amazon Services LLC Associates Program, an affiliate advertising program designed to provide a means for sites to earn advertising fees by advertising and linking to amazon.com as well as other affiliate networks.
So you’ve ripped up your carpet and are ready to clean up the slab. Now it’s DIY time to learn how to prep a concrete slab for painting. Hooray!

Before you can paint it, you have to prep it by getting rid of the glue as well as removing the tack strips and repair the holes.
How to Prep a Concrete Slab Floor for Painting
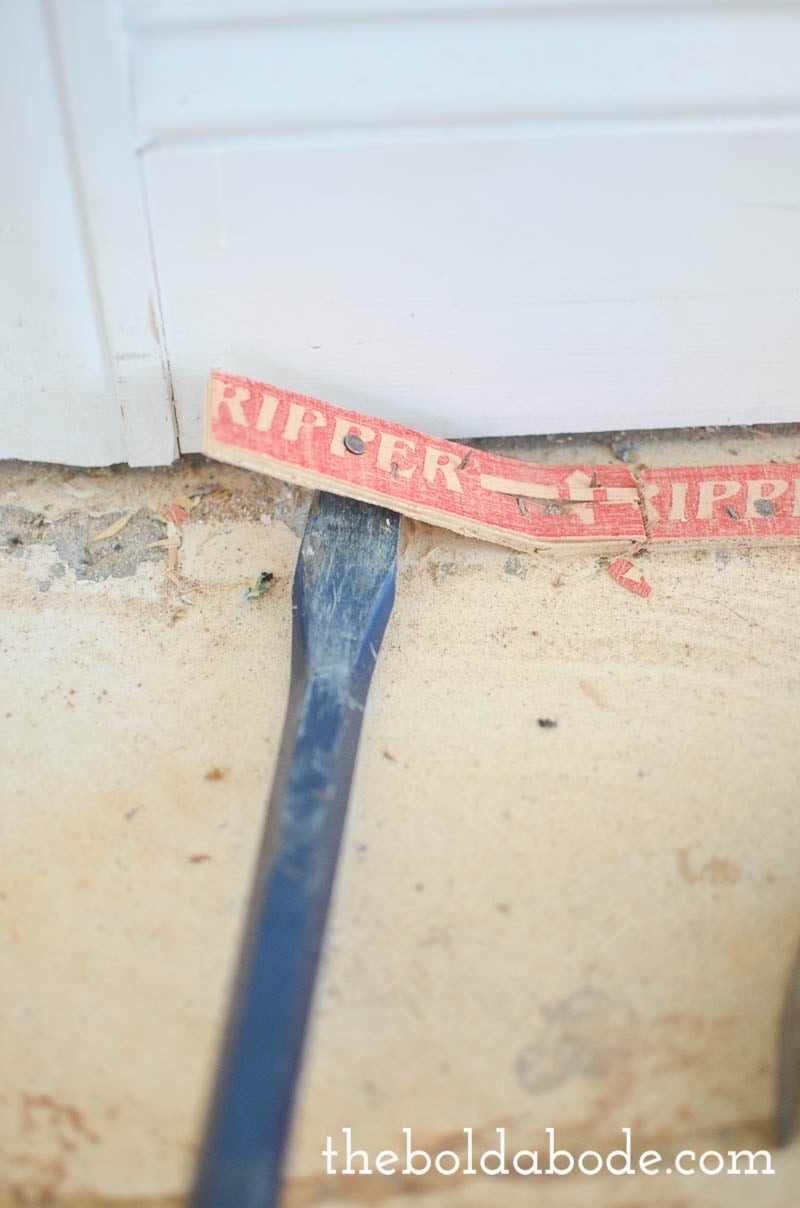
First, let’s remove the tack strips.
You’ll need a good crow bar to do this. Just use a hammer and tap your crowbar under the tack strips so you can pry it up. They actually come up pretty easily.

However, sometimes the tack strip comes up and leaves the nails behind.
You want to make sure and go back around the room with a hammer and pry up any stubborn little nails that didn’t want to leave their happy concrete homes.
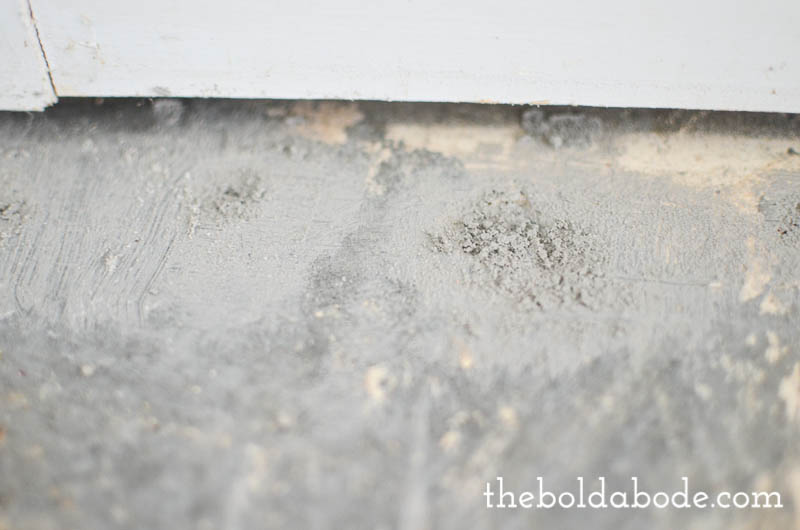
Now you have to fill the holes left from the nails. The nails will actually pull up some of the concrete with them and you might have what feels like some significant damage. But don’t be afraid!

You can just fill those holes with some Quickcrete.

I used a pail of pre-mixed Quickcrete (amazon affiliate link) from the hardware store. A small tub was plenty for my room.
You have to let it dry for 24 hours, but I recommend waiting a few hours and then hand sanding to smooth it out a little. After a full day, it gets really hard and doesn’t sand down quite as nicely. It doesn’t really matter because once you paint over it (or lay your wood) you won’t see it.
Now for removing the carpet glue.
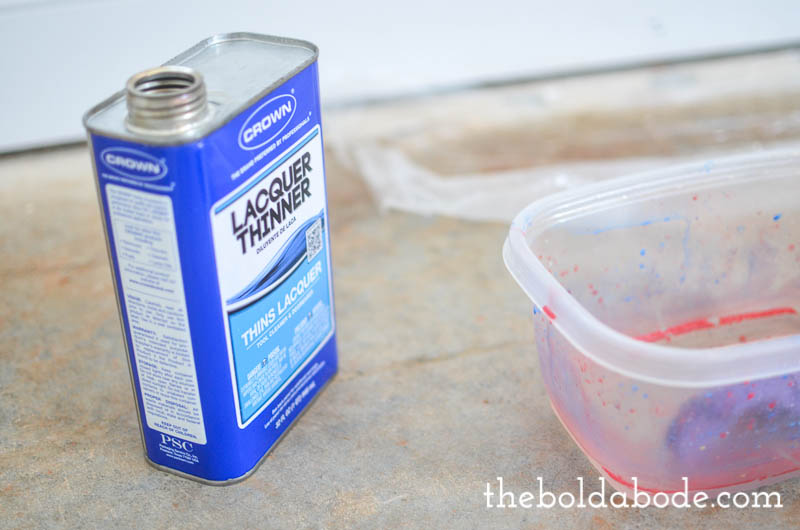
You’ll need a large container of Lacquer Thinner as well as some plastic sheeting. You can cut apart garbage bags or buy a big plastic drop cloth from the store.
You definitely want to wear a dust mask when you do this. It’s pretty stinky.
Just pour or sponge some laquer thinner over the areas with glue. I recommend working in smaller sections becuase it works pretty quickly. Cover the wet area with the plastic and wait for five to ten minutes.
Then remove the plastic and scrape up the glue with a metal putty knife. It should come up really easily!
Once all the glue is up, take a pole sander and sand the heck out of your floor.
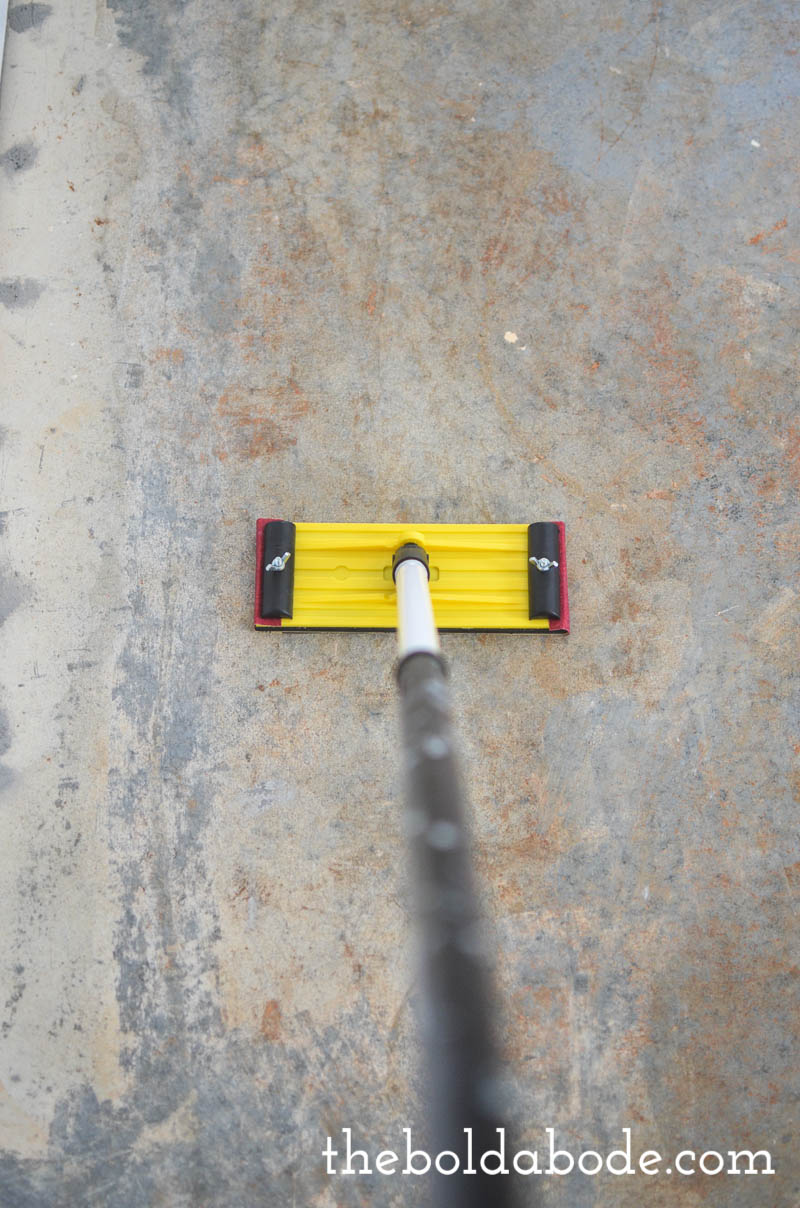
Pay special attention to the filled holes and get them as smooth as you can.
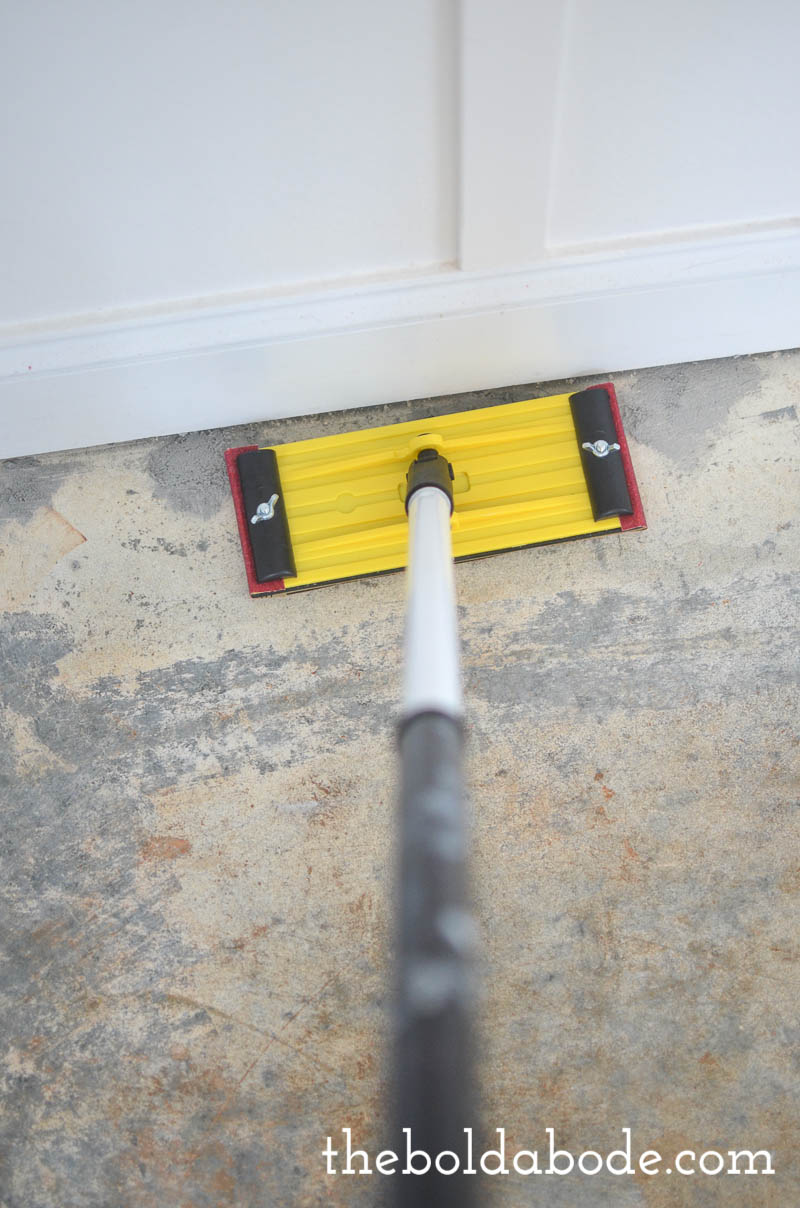
The final part is to vacuum that floor until you could eat off of it.
I used my Swiffer Vac so I could dust and vacuum at the same time. I feel like using that cloth to wipe it while I vacuumed cleaned everything up well. I went over this floor several times and used about 3 cloths to make sure it was as dust free as possible.
And that is it! Now you are ready to lay your wood or paint like I did. I’ll be sharing how to paint your floor tomorrow so come back over and see how it’s done. 🙂


I just want to point out that dust masks are not to be used for vapours and vice versa. You can actually impact your health negatively by wearing the WRONG mask.
Thanks for the tip, Marci!
xoxo
Gwen