DIY Mixer Attachment Stand: Why did I wait so long to make this?
The Bold Abode is a participant in the Amazon Services LLC Associates Program, an affiliate advertising program designed to provide a means for sites to earn advertising fees by advertising and linking to amazon.com as well as other affiliate networks.
I had this idea months ago. It sat in my brain for a while… which apparently is a great waiting place for ideas.
Then, I had Morgan go buy a dowel. I even made him take one of the attachments with him to make sure it fit.
Then that dowel sat in the corner of my office for three months.
Meanwhile, my mixer attachments were like,
Hey momma… when ya gonna give us that super-cool home you promised?
Um. In three months. But, in my defense, I did fall down the stairs a little.
- A piece of wood for the base. I used a scrap piece of stair railing that I had lying around. You could just as well use a flat 1×2. Just make sure the width is a little larger than your attachments.
- A dowel to fit your mixer attachments.
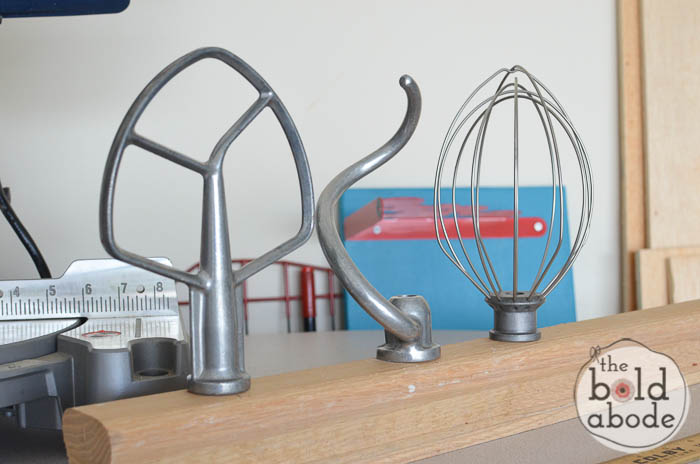
Start by taking your mixer attachments and lining them up on your board. I have three and just spaced them out so they fit.
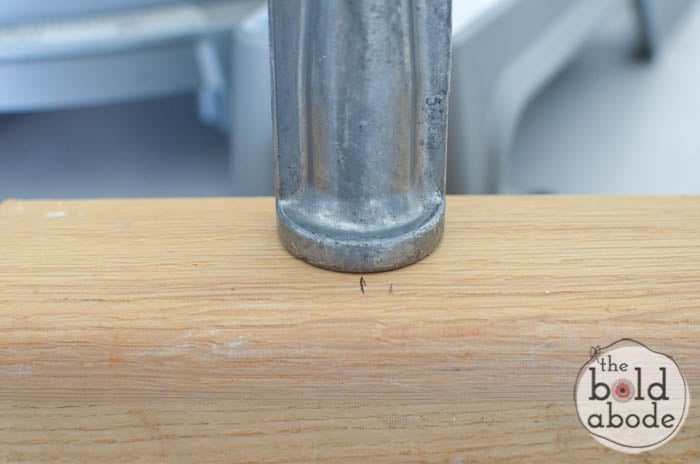
Then mark where you will want to drill the holes for your dowel.
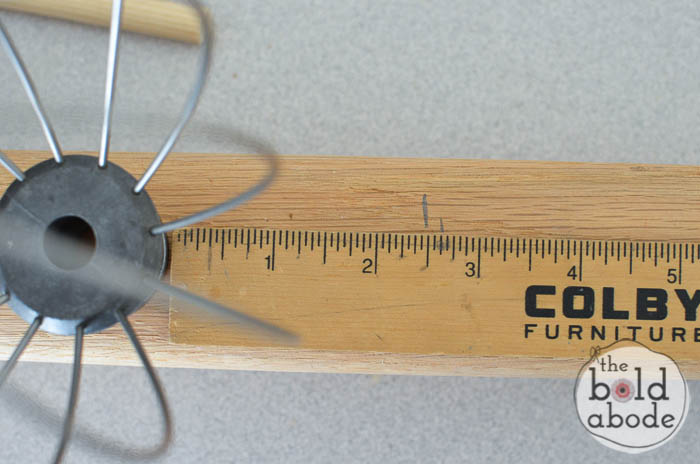
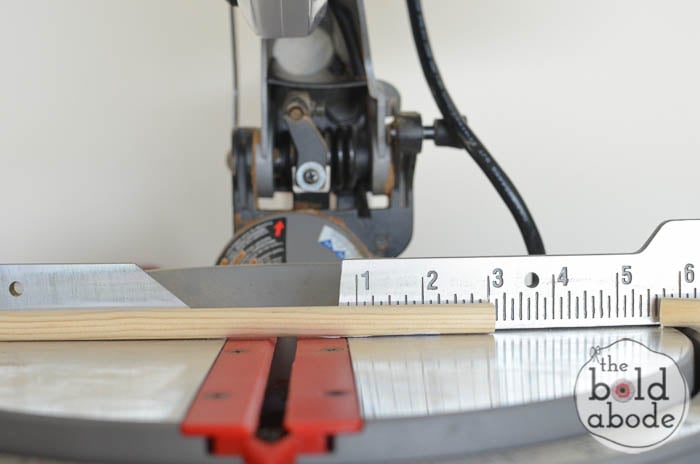
Next, mark where you want to cut the base. I measured out 2 1/2 inches from the attachments and cut the board with my Ryobi Miter Saw. {Thank you, Ryobi!}
Next, you’ll want to measure how long you need your dowels.
I knew I needed 1 1/2″ above the board to hold my attachments, and then gave myself another 1 1/2″ to drill down into the base so they would be secure. Since my base was 3″ deep, I knew this would give me good stability.
The little ruler guide on this saw makes it SO easy to cut these small widths!
Now it’s time to drill the holes for your dowels.
Here’s a little tip
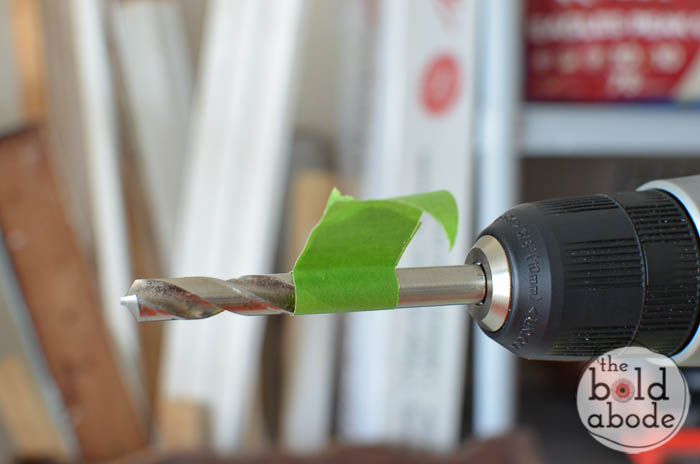
To make sure I was drilling the same depth for each hole, I measured 1 1/2″ from the tip of the drill bit and wrapped a bit of tape around it.
The smart way to be lazy. I used to just eyeball it, but you know where that got me. YIKES!
Now you can drill with confidence.
Side note: I won this drill last year at a live twitter party. Um. I love it. It’s way more powerful than my old drill, which had actually started to lose the ability to retain a charge.
SCORE.
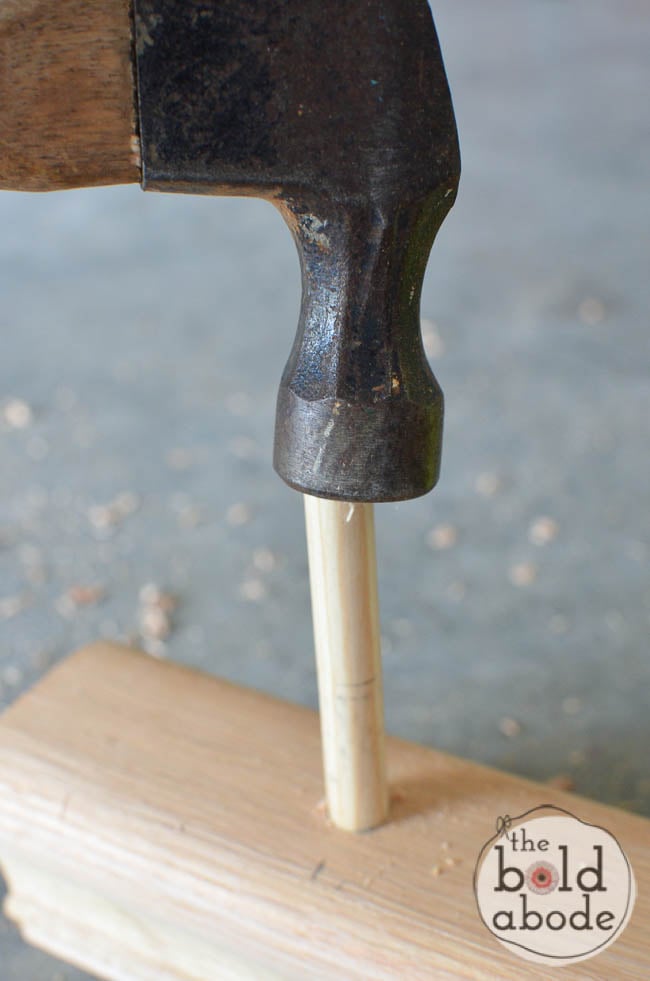
Once you have all your holes drilled, take your dowels and tap them in.
Just make sure you get them in straight. Cough. Cough.
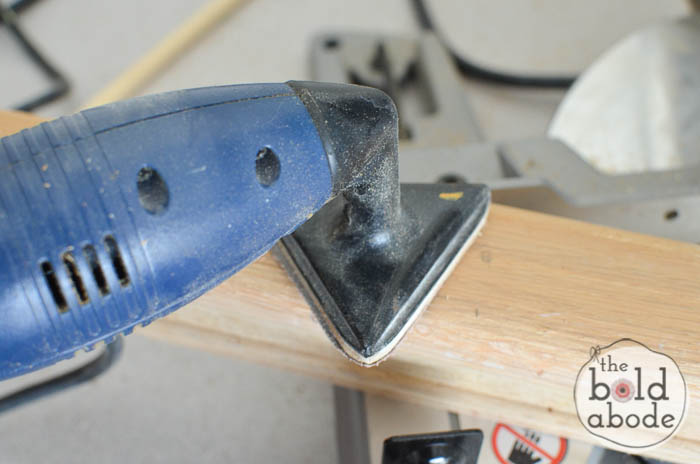
Once that’s done, it’s time to sand.
I’ve had this little detail sander for years and it’s still going strong!
I hemmed and hawed like an indecisive monkey about whether or not to paint it.
In the end, I decided no. Why?, you ask.
Since this was going to be in direct contact with a food prep utensil, I didn’t want to seal it with any of my regular sealers. I figure in the future I can get a food grade sealant and, but I want to make sure I get the right one.
So, if you have any ideas, just let me know what you use in the comments down below.
For now, I’m good with the natural look of it.

I mean, they are, after all, inanimate objects. 🙂
Do you have some mixer attachments that are in need of a home?
Need some other ideas? Check out:
-
Under the Bed Storage Drawers are Awesome.
-
Shaker Style Door Headboard, baby!
-
Reclaimed Columns Buffet
-
10 Super Duper Important DIY Lessons Everyone Should Learn



GREAT idea, Gwen! So, if I make one of these, that means hubby will HAVE to get me a mixer, right?!
Umm.. yes! Girl. You NEED one of these! I couldn’t live without mine…
this is such a great idea! there never is a good place to store them!
Tell me about it! They were driving me bazonkers!
Thank you!
This is amazing! Everyone needs to know about this! One day when I get a stand mixer I’m totally going to do this! So so clever. 🙂
Annie Sloan Chalk Paint is safe
I’ll check into that, Gail! Thanks for the tip!
This is so brilliant, Gwen!!! I am pinning now. And when I copy this awesome idea later I will be sure to give you full credit (that could take years, mind you, but still). 😉
Thank you, Claire! This little DIY has totally changed everything… Even my hubby said it was awesome.haha!
This is a great idea~ I think that if I make it, I’ll mix it up and make it so it can hang on the wall! Counter space is at a premium in my house.
That’s a great idea, Shelli!
Generally I do not learn post on blogs, however I wish to say that this write-up very forced me to check out
and do it! Your writing taste has been amazed me.
Thank you, quite great article.
wouldnt any paint be okay to use, as the parts of the utensils that are inside the wood have no contact with food anyway, they are put into the machine?
Anne Sloan paint is pretty expensive for such a small job. Just stain it and or use a clear coat from a spray can like Krylon, a wipe on poly from Minwax, or put a washer between the attachment and painted surface. You can even find a rubber washer in one of the specialty pull out drawers from a big box store. Hope this helps.
WOW this is fab ! Much better then stashing all those attachments in the cabinet just to have them fall out and hit me in the face ! This is a definite do !
ive had my mixer for years, I store the attachments in the bowls, I can’t wait to get this made for my kitchen and a couple for gifts for my sisters! Thanks for the wonderful directions.
You are so welcome, Catherine! I kept my attachments in the bowl for a long time, too. This way is SO much better!
Thanks so much,
Gwen
I suggest you cover it with vegetable oil. (Kind of like staining). That’s what my son used to cover my cutting board he made for me.
Oh, that’s a good idea, Patti!
Thanks!
Gwen