Upholstery DIY: Panda Chairs Part 2
The Bold Abode is a participant in the Amazon Services LLC Associates Program, an affiliate advertising program designed to provide a means for sites to earn advertising fees by advertising and linking to amazon.com as well as other affiliate networks.
Time for some Upholstery DIY!
Sometimes, it’s the seemingly insignificant things that better our lives…
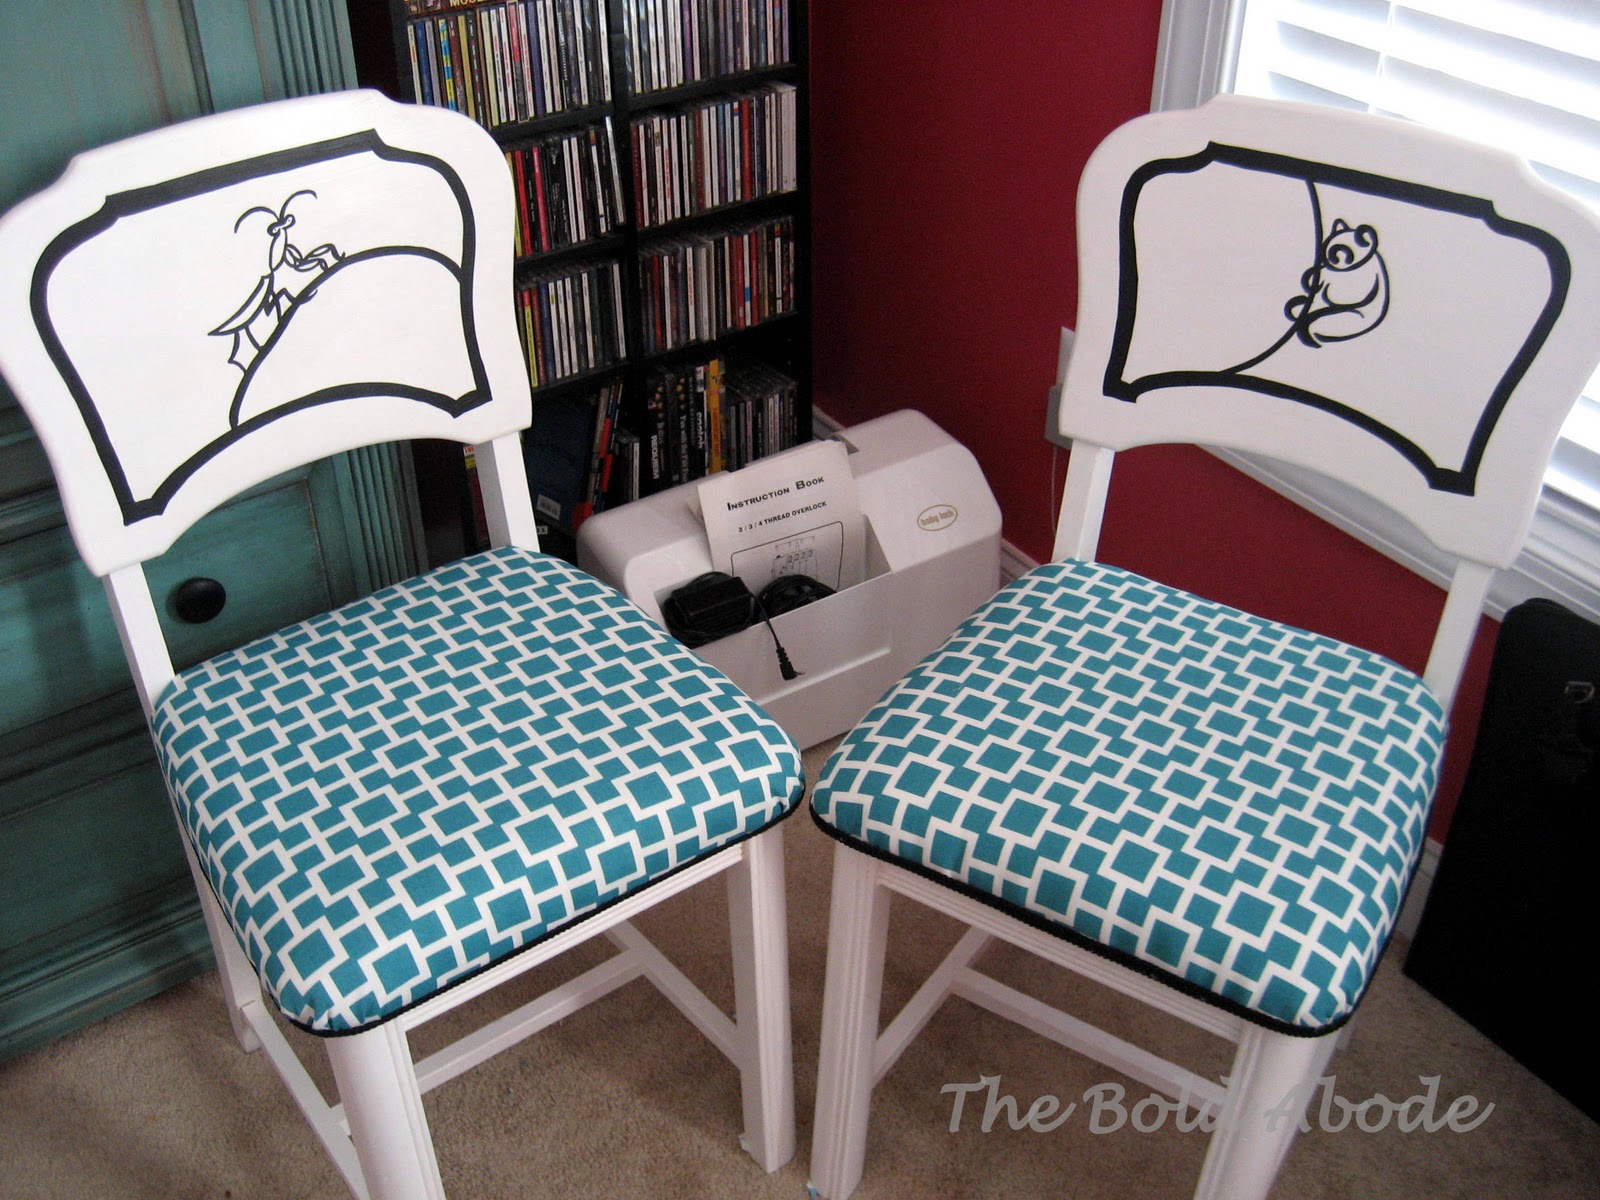
Having these chairs completed has done just that. The boys are happy, which makes me happy! No more crazy cushions flying around, thanks to some fabric, some foam and a few (or a million) staples!
Hallelujah, Chandelier Time!
So, where was I?
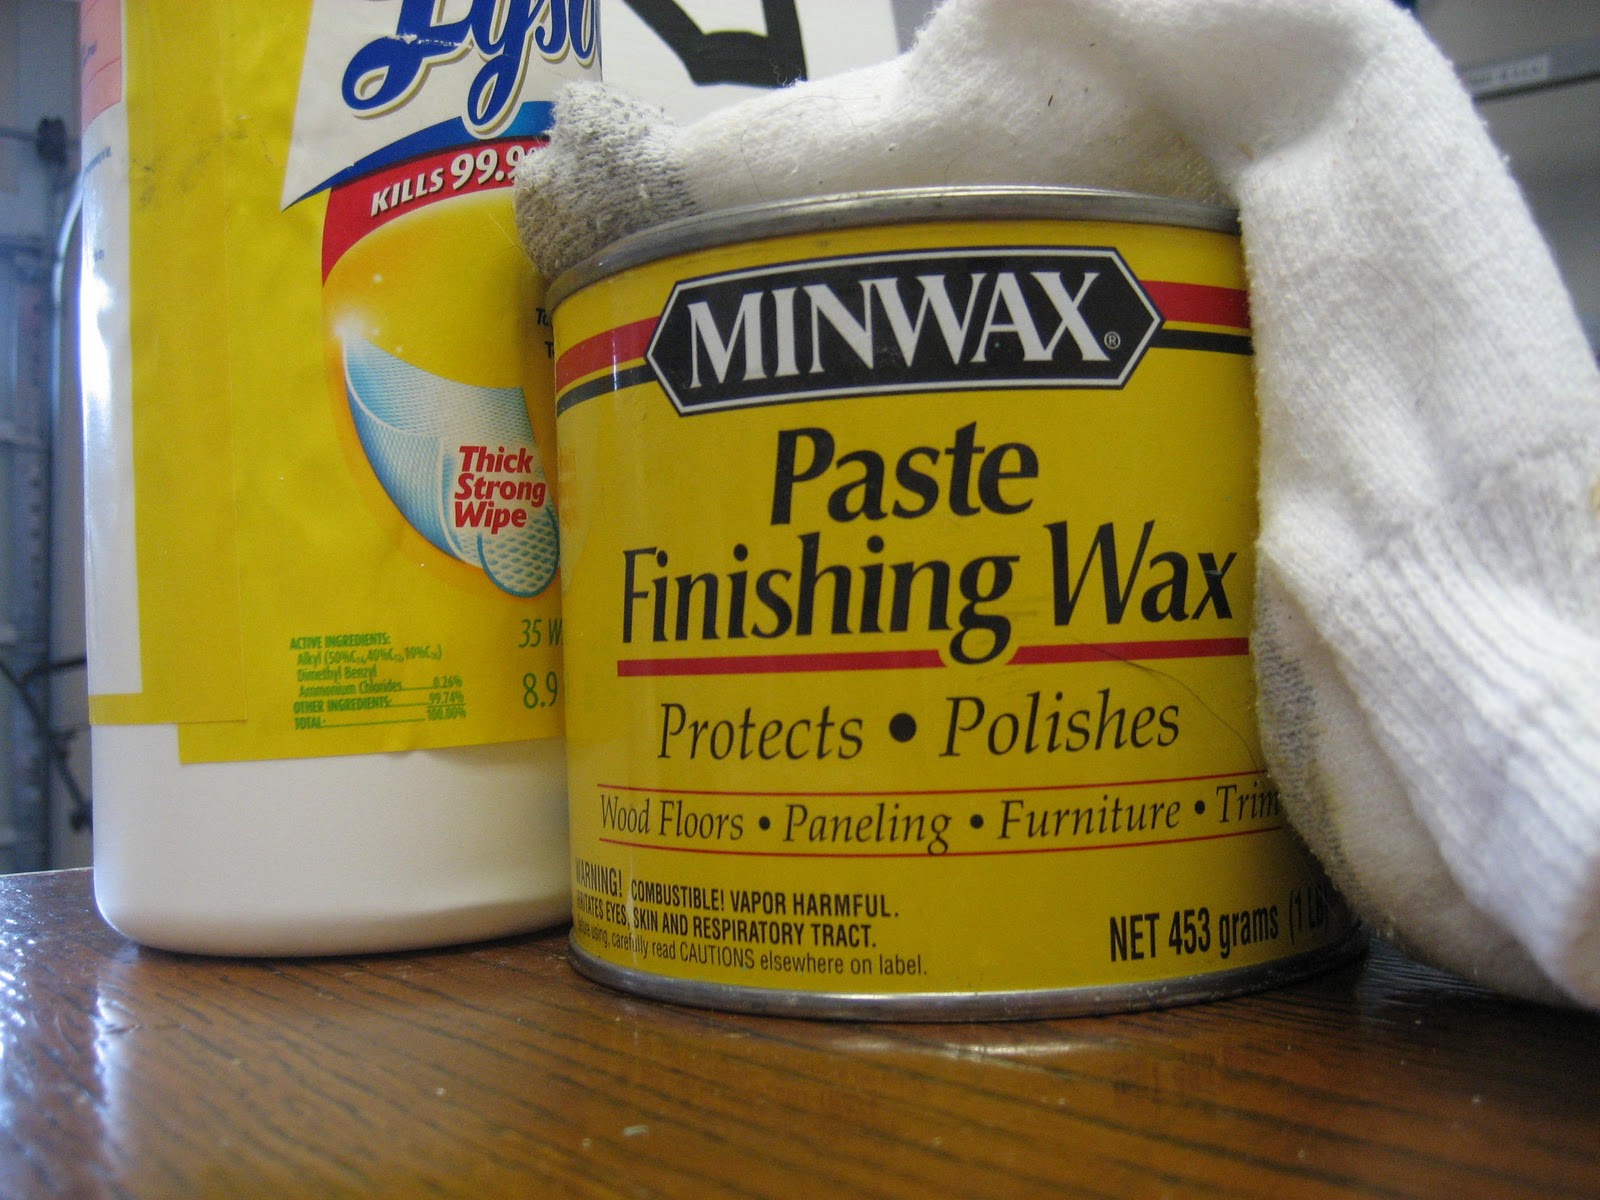
Oh, yeah. I left off here with needing to seal the chairs. When painting furniture, you definitely need to seal. So far, all I have ever used is Minwax Finishing Paste. I sealed the Green Piano in Poly, but it yellowed. Then, after reading several how-to’s online, I realized this is common, so I started using this wax on pieces that, well, aren’t the hosts of dining utensils.
It’s probably best to go buy some nice lint-free cloths, but I’m notiorious for usin’ what’s in hands reach. So, grabbing an old sock, I got to work.
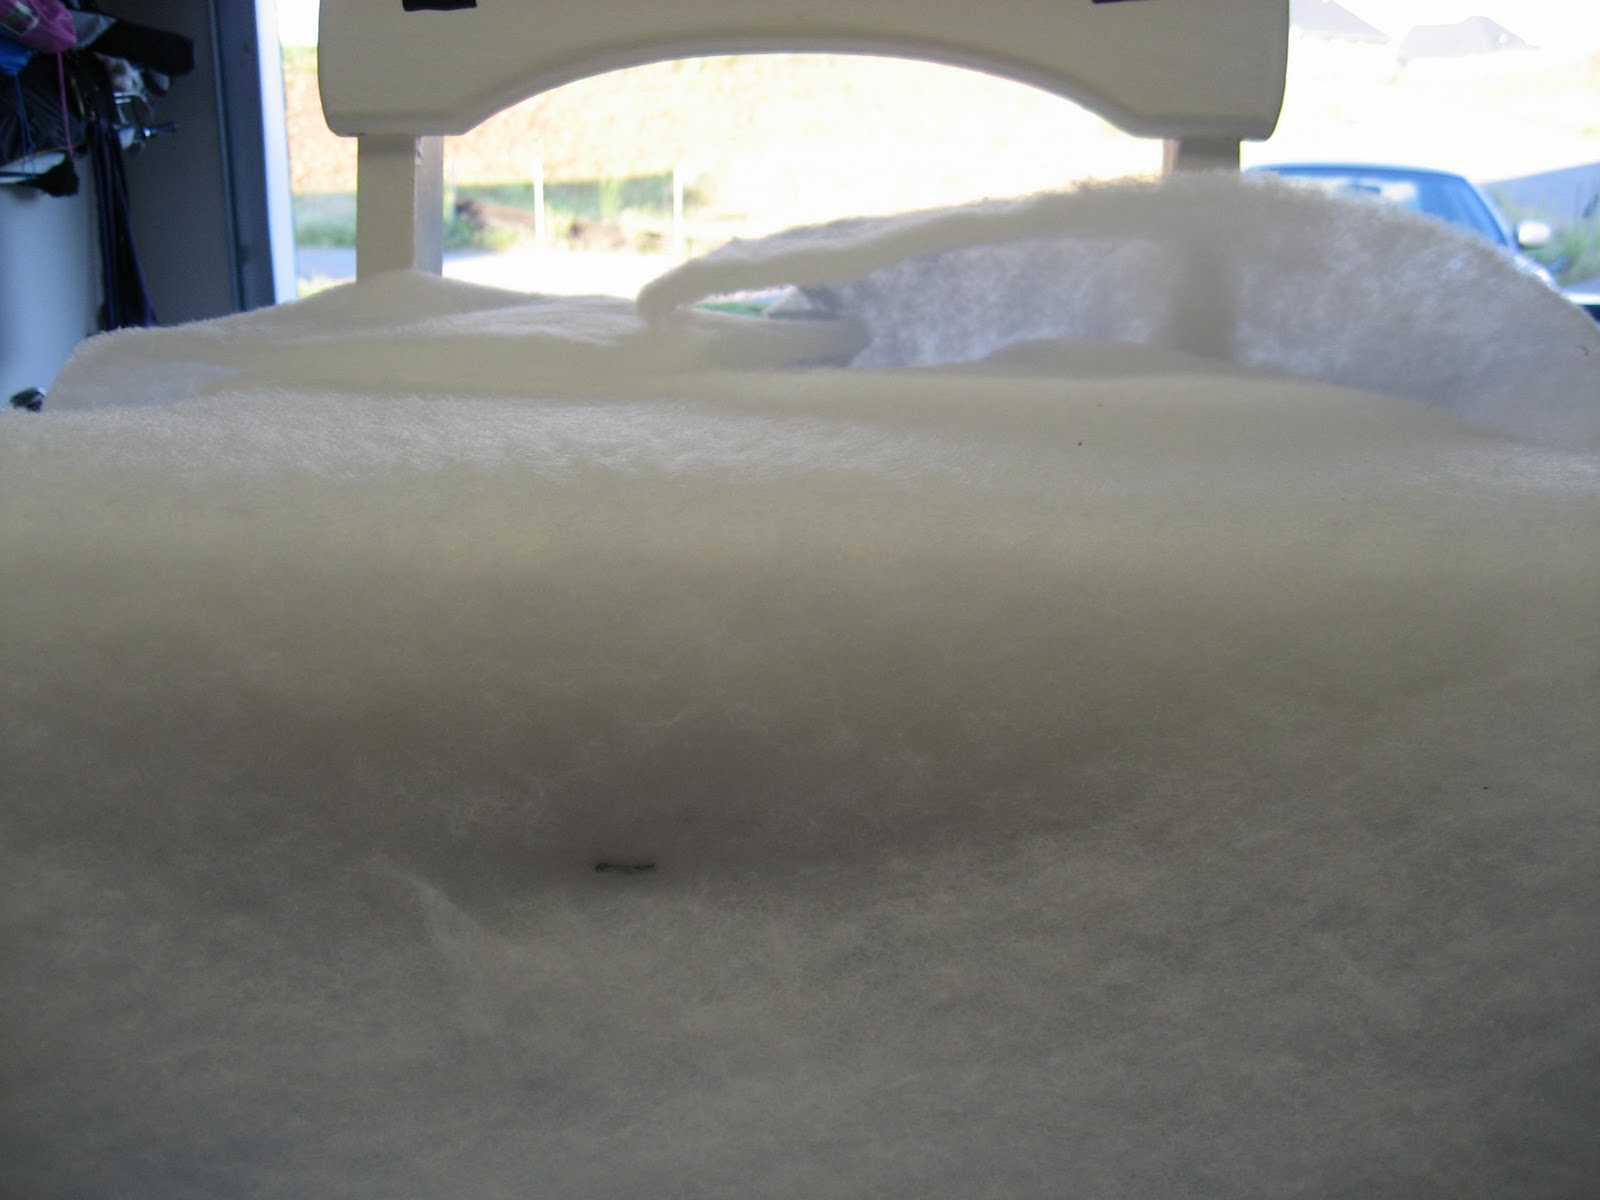

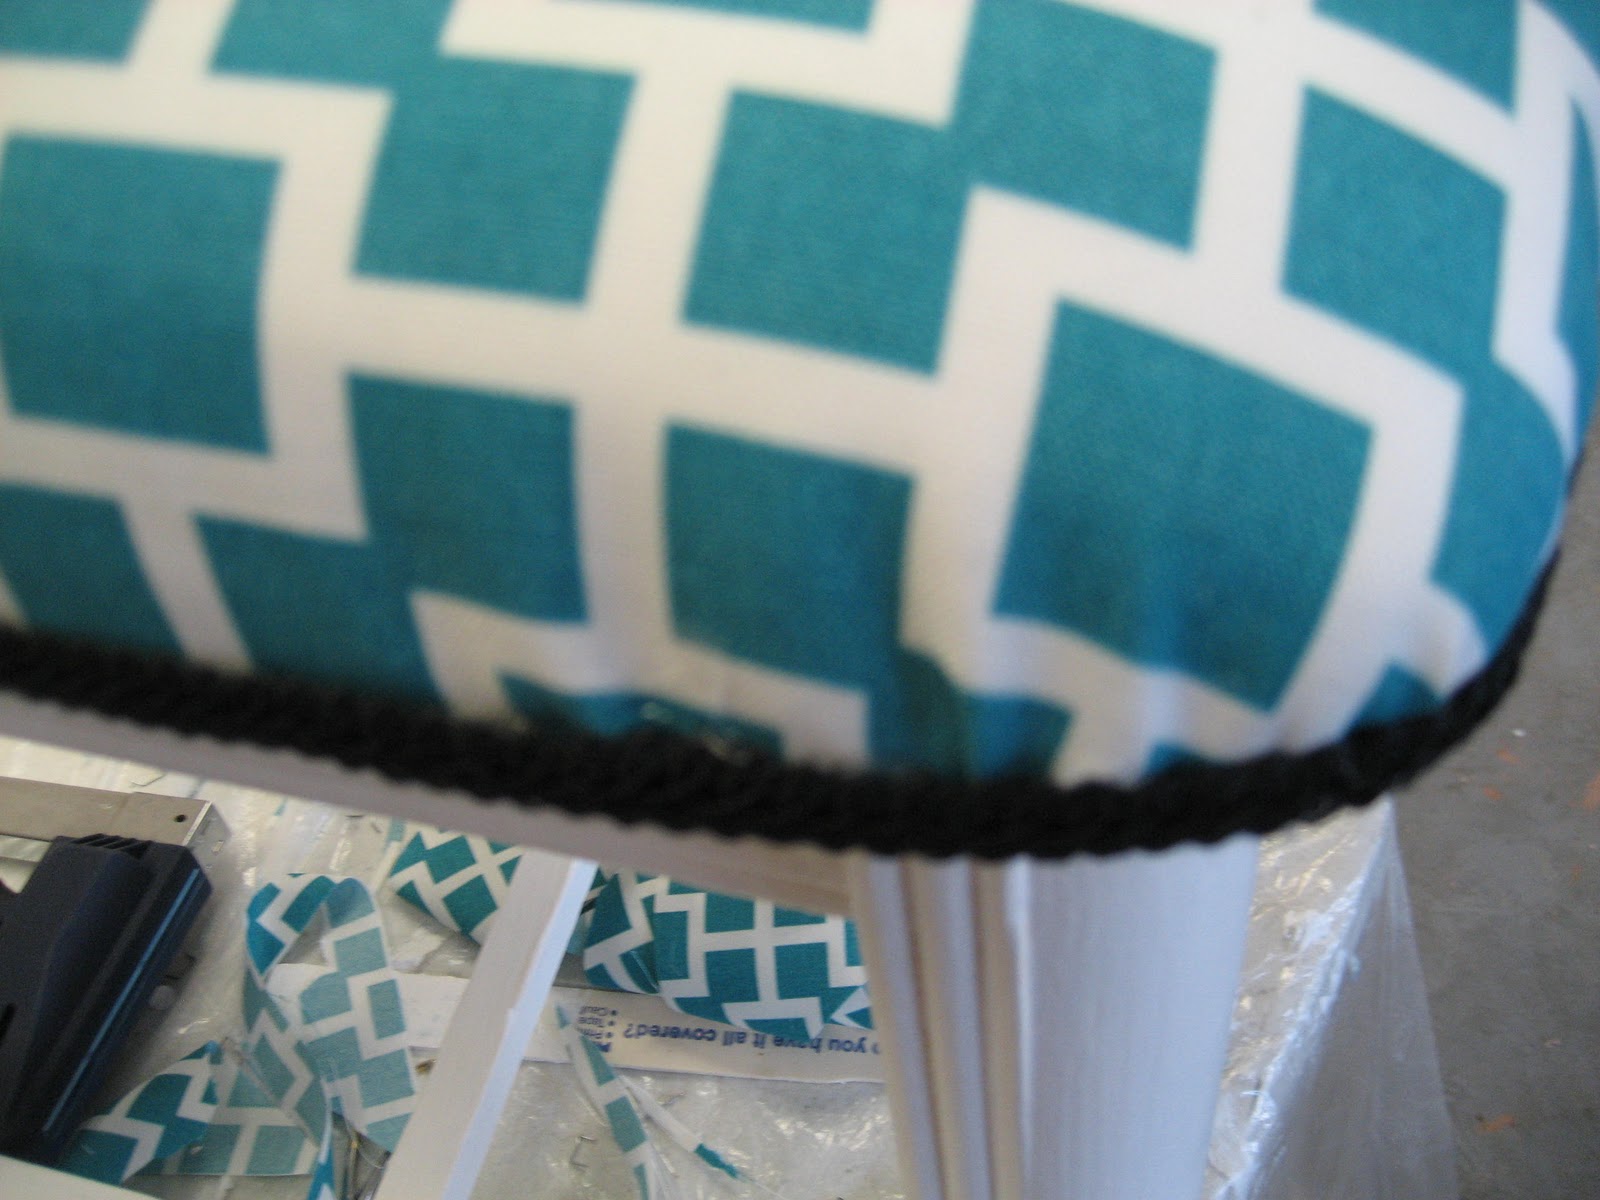
Puh-retty wonky, eh? On the second chair, I stapled the tack strip along the edge of the chair first, and, then, stapled the batting to the tack strip. This allowed me to butt the fabric right up along the edge of the tack strip for a clean, crisp line. Sorry, I failed to snap a picture of that!
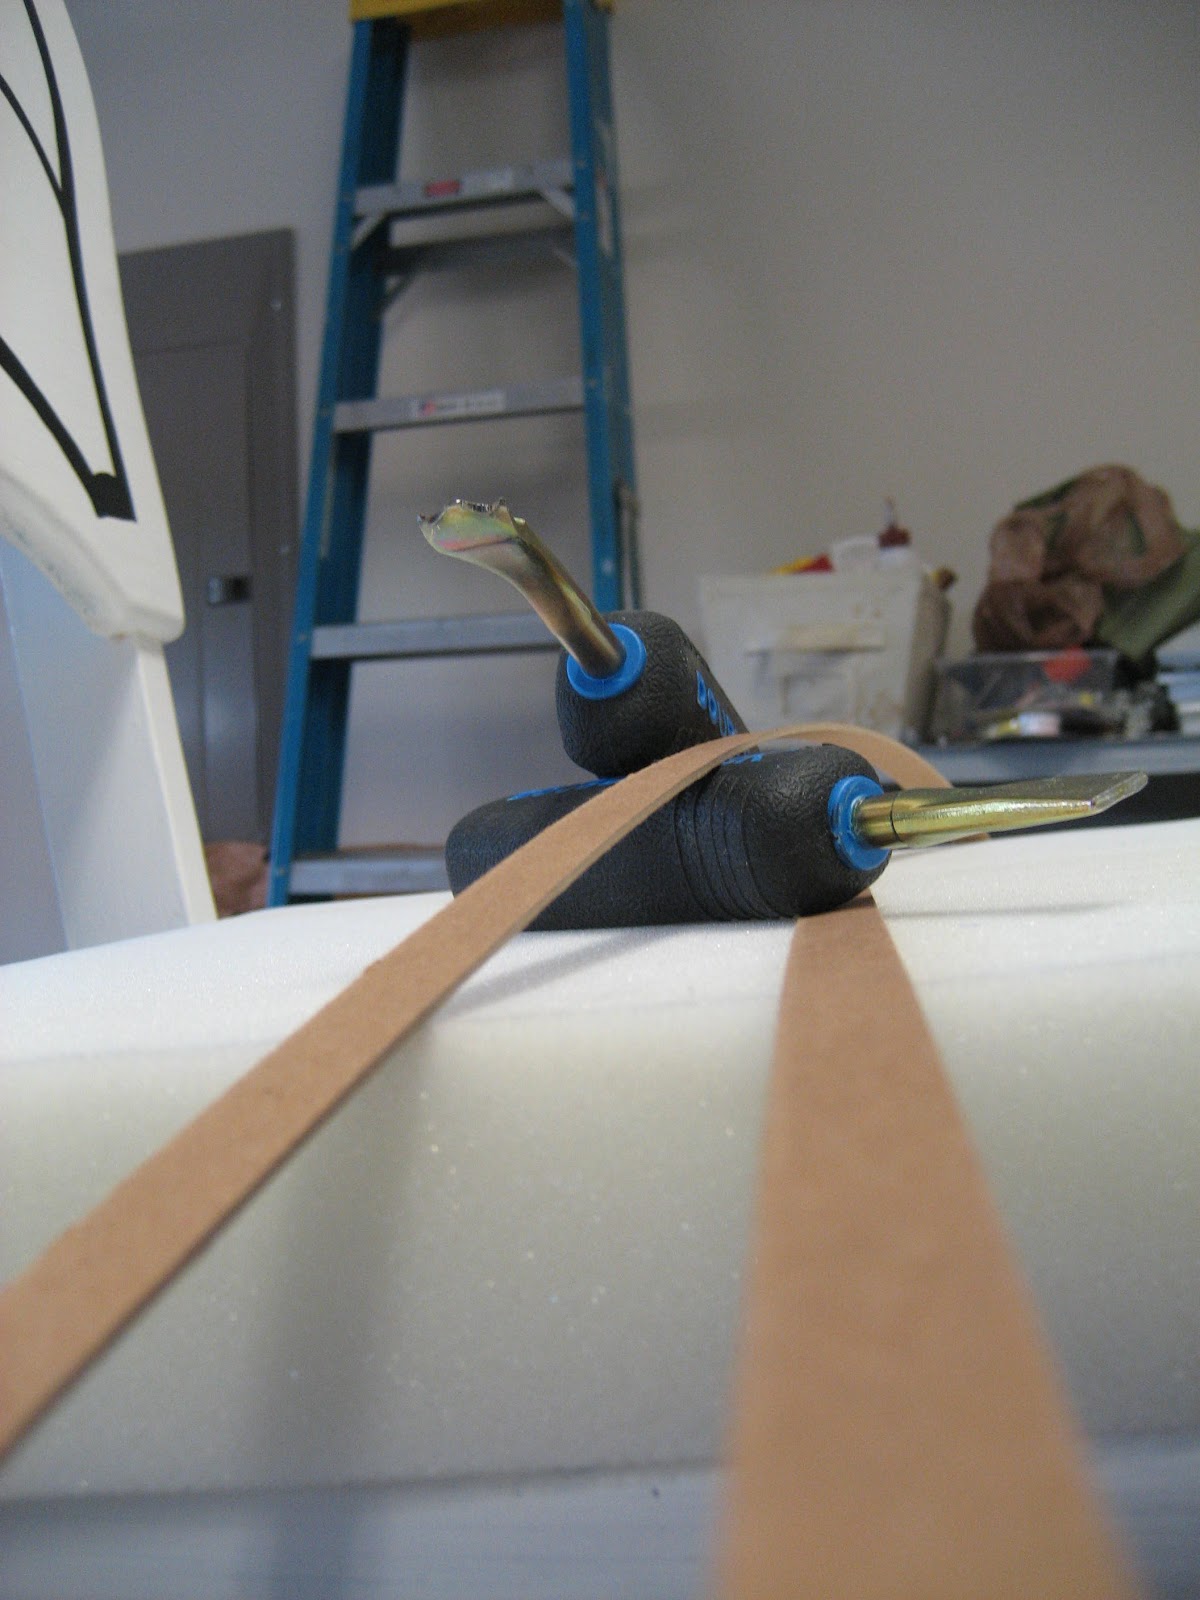
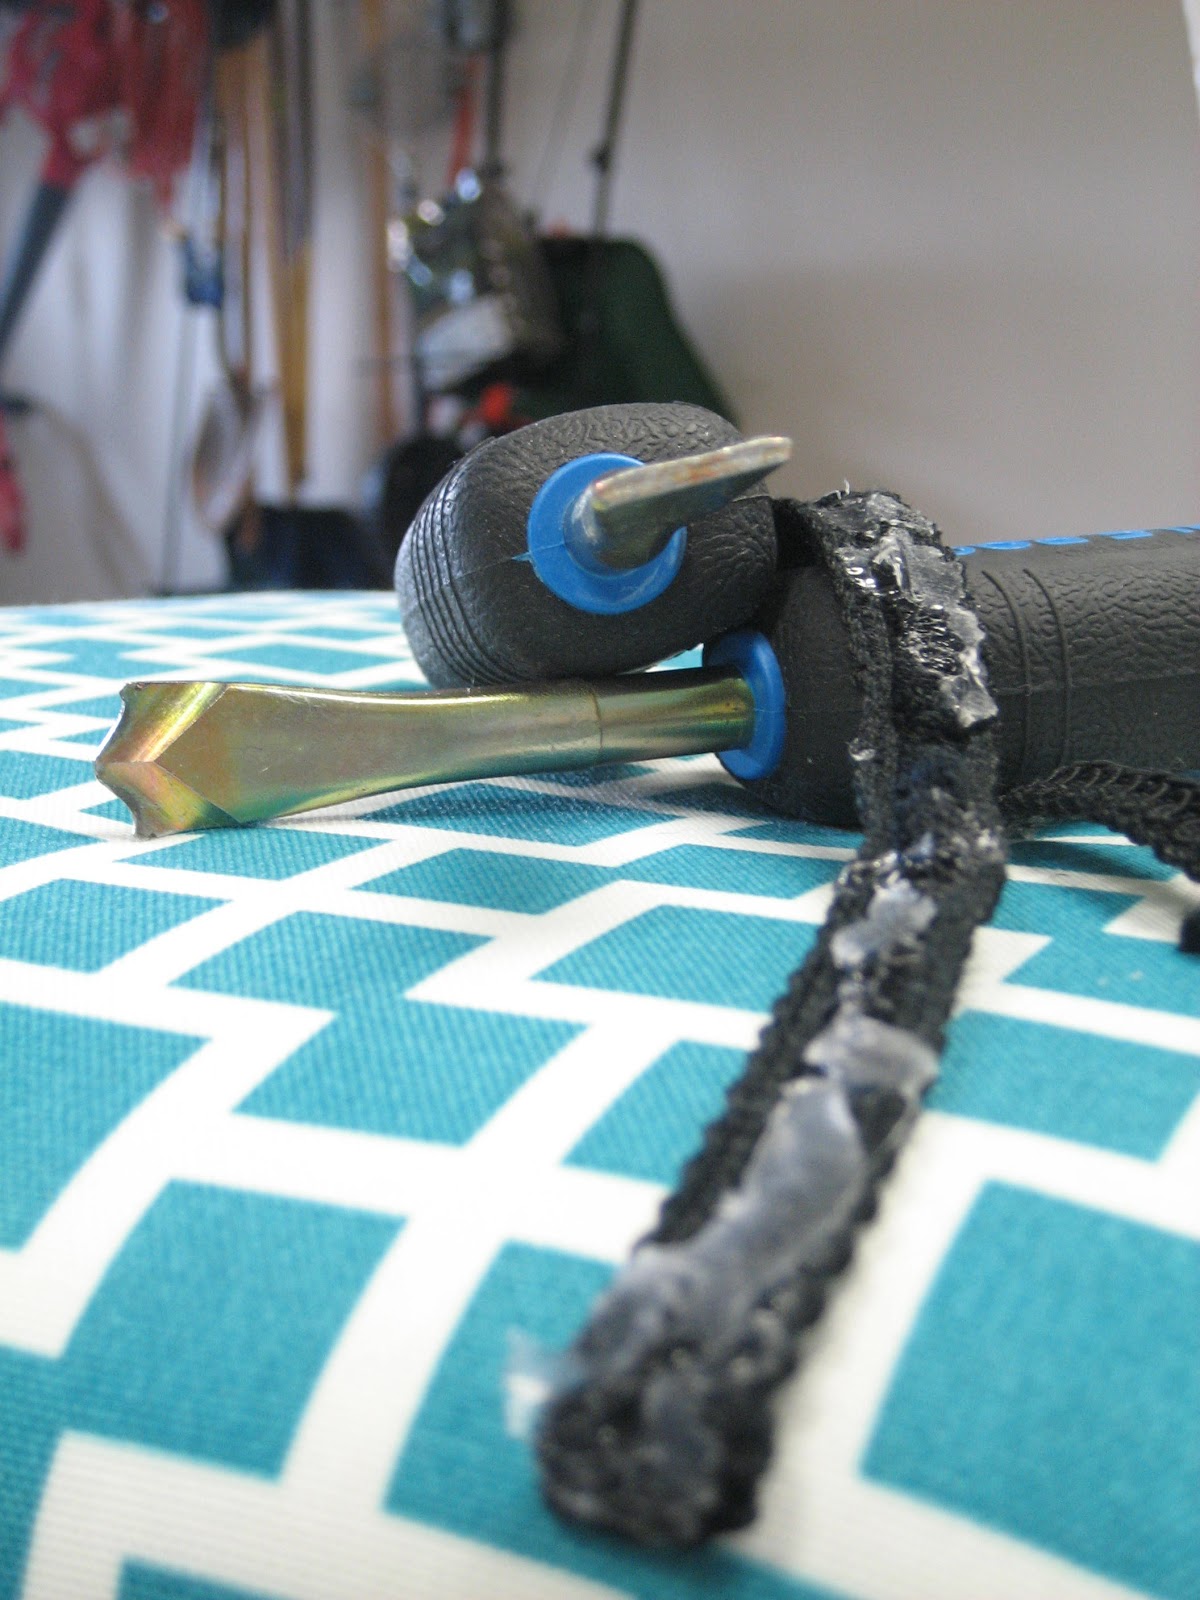
The tools in the picture with the cardboard tack strips are a must if you plan on doing repeated upholstering projects! One will save your fingers many blisters (and your fabric from becoming holey) when pulling the mis-guided staples out. The other has a small groove on the bottom, which fits directly over the staple, so you can tap it in, should the need arise.
I found mine at The Upholstery Studio. Apparantly, you can’t buy directly from them any longer, but this page will tell you where you can buy the products online.Their You Tube Channel has many extremely helpful videos for upholstery DIY. The finished products just tend to be a bit, umm, dated. But the techniques and explanations are superb!Ok. Back to the chair…


3 Comments