Funky, Chunky Shelves: A Fairytale
The Bold Abode is a participant in the Amazon Services LLC Associates Program, an affiliate advertising program designed to provide a means for sites to earn advertising fees by advertising and linking to amazon.com as well as other affiliate networks.
There once was a little girl who longed for all things pretty. She was a simple girl. Not a fairy princess or a beauty queen, just a quiet, shy, reserved, tame little soul that was smitten with the unusual and with quiet elegance.
This little girl grew up and one day, and, while at a bosom friend’s dinner party, unexpectedly found her missing piece. Together they lived a simple wayfaring life until they finally landed in a simple abode that she lovingly adorned with her simple taste.
She would often browse the news advertisments (pronouced ad-ver-tis-ments) and dream of the charming things with which she could fill her humble home.
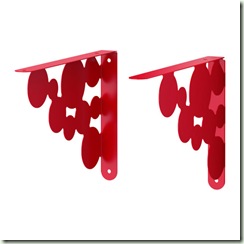
One day, while her husband journeyed to a far off land, Atlantia, she came across these ever so sophisticated shelf holder-uppers.
What Joy, What Bliss! O the thought of such beauty for so little geld!
She hastily scribbled on a small piece of parchment, and, calling up her Messenger Pigeon, Android, sent him to carry her request across the miles in order to ask a boon of her dear, sweet husband…that he would return to her and bring what she so desired!
Long story short… He brought 2 sets home, cuz he knew he’d better if he wanted to sleep in that new, awesome, super-cool bed she made.
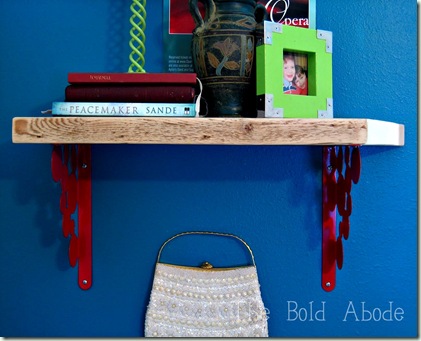
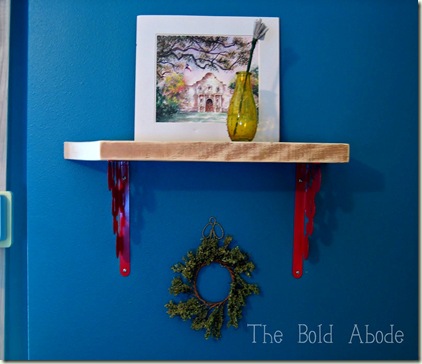
The girl slapped them on some leftover, reclaimed 2×8’s and screwed them to the wall, getting one bracket totally crooked and the other shelf a tad off level. No matter, she thought they rocked anyway.
Here’s how you can, too, have your very own polka-dotty, funky, chunky shelves~
Step 1. Get to an Ikea and grab some ‘o these bad boys.
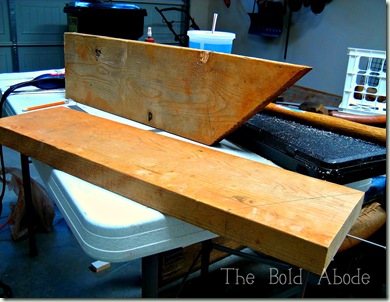
Step 2. Haul out some leftover 2x8s. (or new, if your too cool to go dumpter divin’)
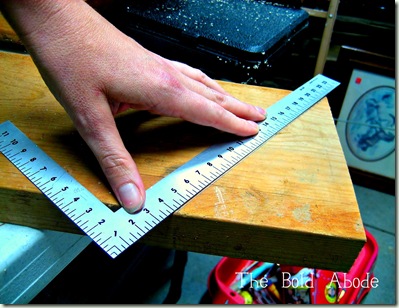
Step 3. Measure and mark said 2×8’s to the desired length. If you’re really creative, you can angle the cut on one end. (No, I did not do this because the other one was already cut that way…)
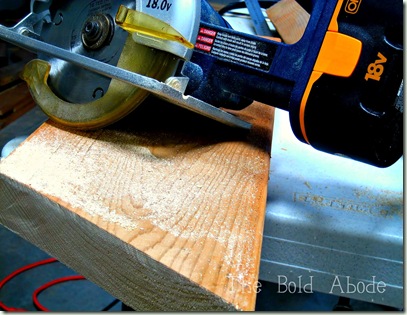
Step 4. Trim ‘em up using your awesome new Ryobi Circular Saw…
Step 5. Learn how to use the saw. Until then, go back in and finish your cut with your equally awesome Black and Decker Jigsaw.
Step 6. Have a good laugh at yurself. And drink some Tropical Punch Kool~Aid…
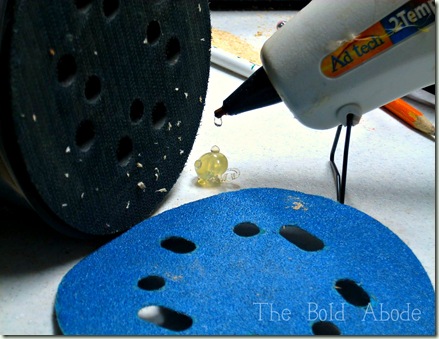
Step 7. Hot Glue your sanding pad to your rotary sander cuz for some reason it keeps flying off even after you cleaned out the dust reservoir that was packed to the brim with sawdust.
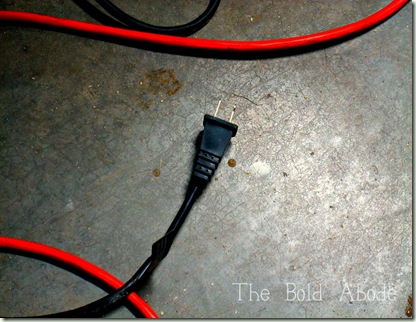
Step 7 1/2. Plug in the dern sander…
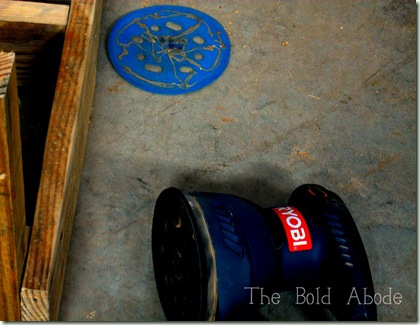
Step 8. If at first you don’t succeed…
Step 9. Use a whole glue stick…
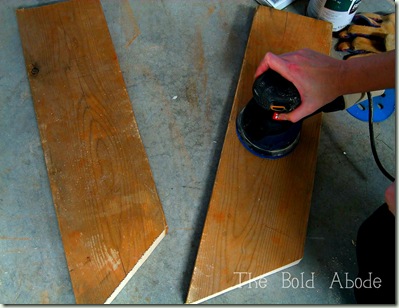
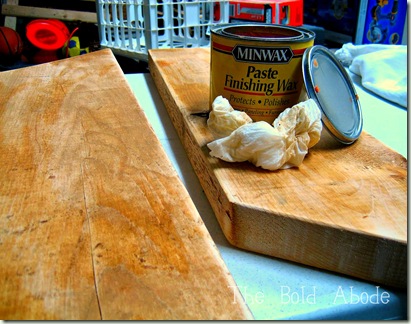
Step 10. Wax those suckas…
Step 11. Eyeball where those brackets go, (you could use a ruler and square, I guess…that is if you want them to be straight and all…).
Predrill holes and screw ‘em on with desk screws… (O.K. deck screws, but desk screws does sound a bit more cosmopolitan…)
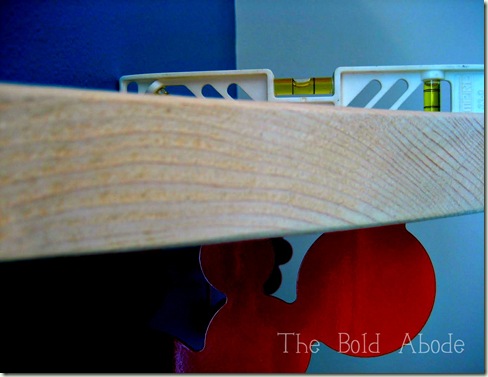
Step 12. Try your derndest to get the shelves level… And then realize you didn’t quite, but you know that nobody will probably ever notice. Of course, it will bother you until the end of time or the shelf falls off the wall and you hope that the former comes first cuz they’re really heavy and they are right above the side tables your great-grandpa made by hand…to the point of boiling his own shellac.. Whew!
Step 12 1/2. Learn how not to write run on sentences…
Step 13. Run around the house looking for stuff to display so you can take some atrocious pictures because you used the wrong camera and your other one has a battery that’s on the fritz…
Step 14. Stand back and luv ‘em anyway… It’s not their fault…
If you made it to the end of this post, you win the award for Bold Reader. Whew! Yur either a really good friend or your krazy… again, I hope it’s the former…






What a wonderful little shelf! I love how the red pops out. I haven't seen brackets like that before…. good find! AND just to let you know that I am on the hunt to find a new collection of corbels so keep checkin' in for more.
thank you, thank you for the bold reader award. hmm… awards are droppin' from the sky of late, dontcha think?
messenger pigeon?? i sense your midieval-speak is on the rise. what next, fencing?
and yes, those corbels are dreamy but topping 'em w/ the juicy filet of asymmetrical wood shows your wacky brilliance–AGAIN. thanks for never lettin' us down.
off to babble in other comment boxes in the big blog world…
You're awesome 🙂 Love your writing and your boldness! That shelf looks great!
These are great! Found you via The Creative Paige! Love for you to link to our Things I've Done Thursday Link party. I also have a give-away going on for a custom blog button!
Melanie
https://bearrabbitbear.blogspot.com/2011/10/things-ive-done-thursday-and-blog.html
Hi Gwen
Lovley job 🙂
and do not miss…..
S
A
T
U
R
D
A
Y
S
H
O
W
O
F
F
It´s fun to join it 🙂
WELCOME 🙂
Håkan ( The Roseman)
I win good friend category! Ha! Your story is just…I was rolling! Your shelves loo perfect to me. Promise. 🙂
That looks great!
Looks great!!! Love that you chose red brackets to add some pop, too. *Becca* (new follower by way of My Uncommon Slice)
http://www.adventuresindecorating1.blogspot.com
of course, the first funky, chunky link that i click on at project queen is YOURS.
still fab, though!
Well done- love how they came out! Thanks for sharing at Feathered Nest Friday!
how fun is that! i love the more modern retro shape of the brackets with the rustic wood!
I love the chunky presence of the shelf and the pop of red the brackets add to it.
I'm your newest follower. Please stop by and say hi.