Simple Tips for Hand Lettering and the Best Tools to Get You Started
The Bold Abode is a participant in the Amazon Services LLC Associates Program, an affiliate advertising program designed to provide a means for sites to earn advertising fees by advertising and linking to amazon.com as well as other affiliate networks.
Are you totally in love with the resurgence of hand lettering? I love it more than a big box of bit o’honey. There is something so soothing about taking a pencil and drawing letters until your hand hurts.
Honestly, I’ve never had the best of the best handwriting. I wanted to be a girly and loopy one minute, then all architectural and modern the next. I could never settle on one way of writing, so when I did write it was a mixed up jumble of styles.
And I’m OK with that. I love all kinds of designs and styles and that’s just who I am.
I am by no means an expert, but I’ve fallen in love with it and learned a thing or two and wanted to share it with you guys!
The Process of Hand Lettering
Learning to hand letter is a process. It takes practice. And the best way to go about it is to get totally enraptured in that practice. Don’t worry about the end product so much, just enjoy the time you have to sit down and work with your pens and pencils. It can be very relaxing.
The biggest hurdle in hand lettering is letting go of your expectations. If you are like me and not great at handwriting, this can be tough. I wanted my lettering to be as awesome as my favorite hand-letterers. But when you are starting out, you have to be careful because copying someone’s style and passing it off as your own is cheap and so not cool.
There is a big difference between being inspired by someone and just out-right imitating them.
HAVING SAID THAT….
The best way to get started is by imitation.
Copying letters is the best way to begin understanding how to form them.
Copy, copy, copy.
Print out samples of hand-lettering you love (or just print out fonts using your computer). Then place a piece of paper over it, and trace your heart away. Get the feel for it. Learn the curves and spacing and get comfortable with your instruments.
But know that when you are copying, that is what you are doing. Just keep it for yourself as practice.
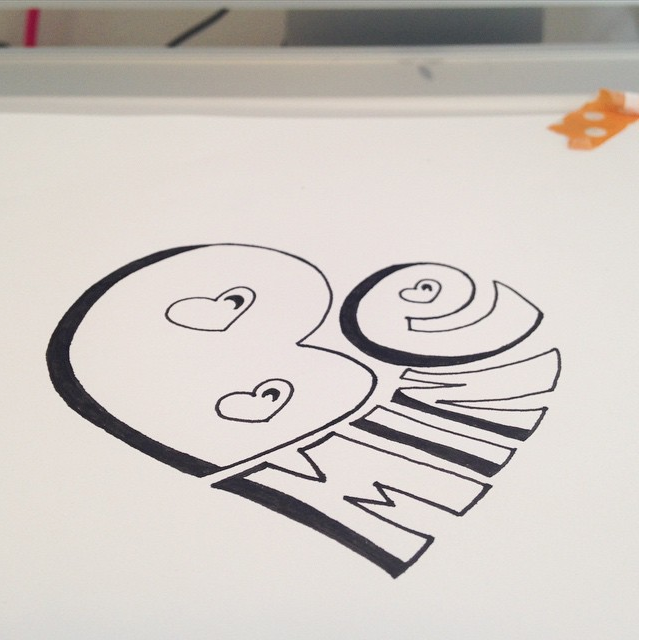
Use short phrases to start out.
When you are first starting out with hand-lettering, it’s tempting to try and create an elaborate work of art with lots of embellishments and what not. I, personally, wanted to be an expert from the start and that was totally discouraging. I finally decided that small phrases was the best place to begin.
I’m still in this stage and I’m happy to admit it. I don’t sit down quite as much as I should to practice, but every little bit helps.
Use simple, but effective tools.
It’s easy to want to dive in and buy the biggest and best tools available when you think you are going to love an art form. I can’t tell you how many times I’ve wasted money on things when I should have started small. Below you can find Amazon affiliate links to what I recommend for just starting out with hand-lettering:
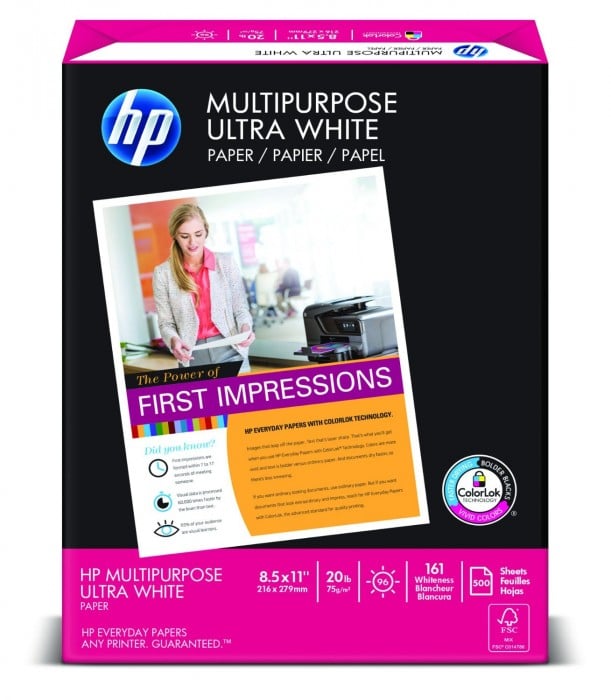
Regular copy paper
It’s really the best paper to use. You can see through it pretty well and it’s easy to find. I use it for all of my drafts and even some of my final projects.
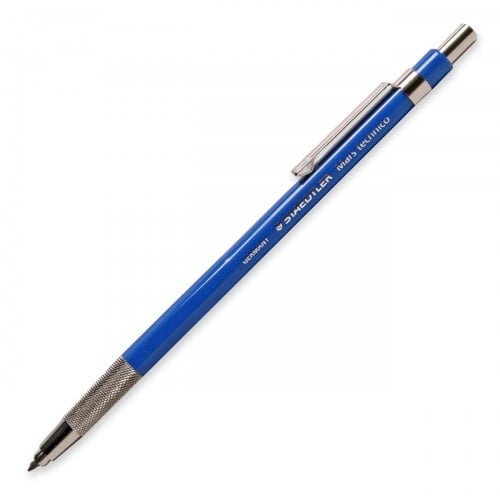
Staedtler Mars 780 Technical Mechanical Pencil, 2mm. 780BK
I love my Staedtler pencils. This is the perfect weight for sketching and drawing letters.
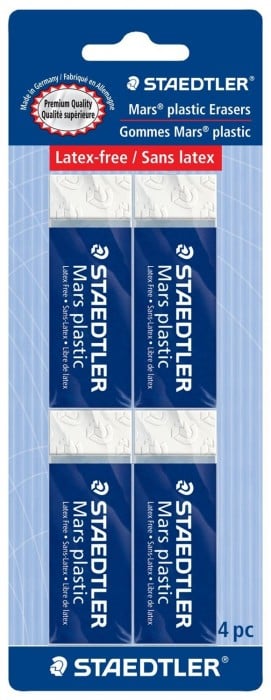
 Staedtler Mars Plastic Erasers,Pack of 4
These erasers are amazing. They actually erase. I hate when I get a pencil with an eraser, and it leaves orange marks all over the paper. When you are hand lettering, you just don’t want to deal with that. With these white erasers, I get a clean slate every time.
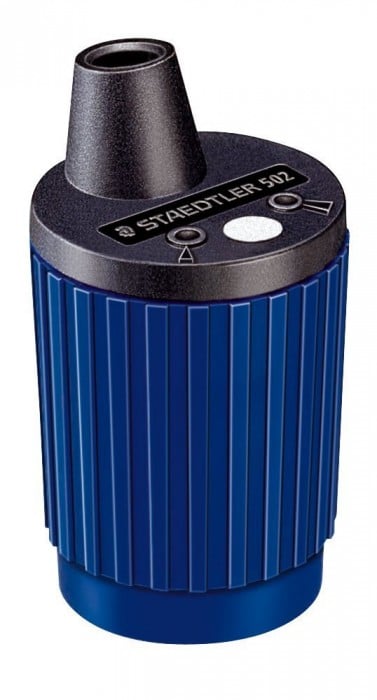
Staedtler Mars Rotary Action Lead Pointer and Tub for 2mm Leads
One reason I love my Staedtler pencil so much is because of this rotary sharpener. It gives my lead a clean, sharp point every time. Love.
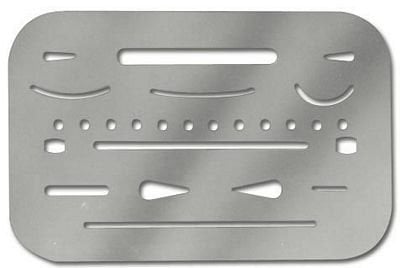
Alvin Stainless Steel Erasing Shield
This is a very inexpensive little guy, but he’s amazing. Just use the various holes to erase stray marks or small portions of your lettering. Detail at it’s finest.
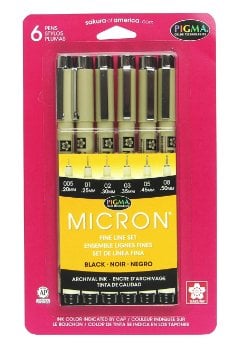
Sakura 30062 6-Piece Pigma Micron Ink Pen Set, Black
Micron pens are fantastic. Not only are they very affordable, they create clean, opaque lines every time. They last for quite a while, too. Just be sure to cap them when you are done. I love this 6 piece set because you can play around with the different pen thicknesses and find what works best for you in which situation.
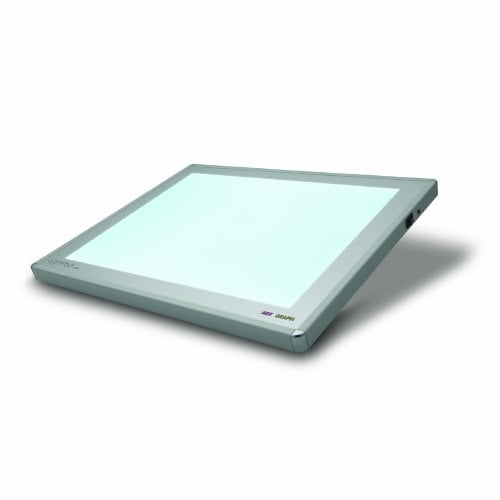
Artograph 12 inch by 9 inch Light Pad Light Box
After I had been hand lettering for a couple of months, I did invest in a Light Box. It’s around $100, so just be sure you like lettering before investing in this one. But I will say, it makes tracing over my draft SO much easier. The light really makes it easy to see those pencil marks. I love it.
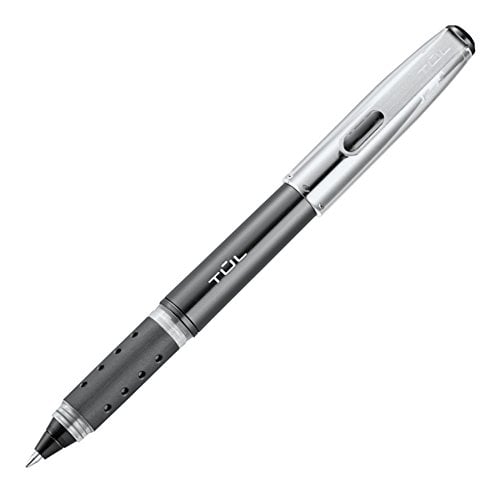
TUL RB2 Rollerball
I love the micron pens. But I also like this TUL Rollerball. It just has a different feel to it. You honestly have to try both and see what you like best. Fortuntately, they are both reasonable so it’s totally feasible to try both.
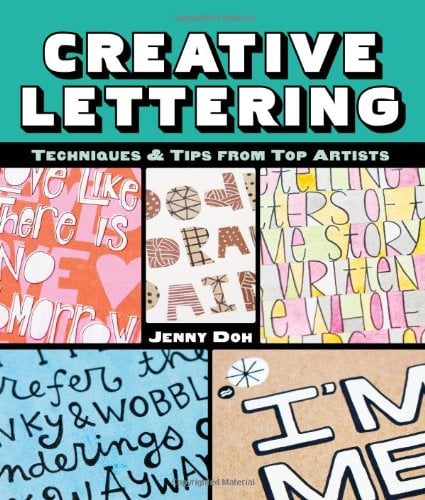
Creative Lettering by Jenny Doh
This book has so many fun examples of what you can do with hand lettering. I love just flipping through the pages to be inspired by the different artists!
Like I said, hand lettering takes practice, but just remember that like anything else, with practice, you get better and better.
Have you ever tried your hand at hand lettering? Do you have other tips or tools that you would recommend?



I prefer ZIG pens by Kuretake over the Micron pens. Their tips hold up much better.
I will have to check those out, Debra! Thanks!