7 Things You Need to Do Before You Ever Pick Up a Paintbrush! {or how to prep a room like a pro}
The Bold Abode is a participant in the Amazon Services LLC Associates Program, an affiliate advertising program designed to provide a means for sites to earn advertising fees by advertising and linking to amazon.com as well as other affiliate networks.
After living in this house for 6 years, I’ve done my fair share of painting. I won’t say I’m a total expert at it or anything, but I have learned a thing or two along the way… like how not to pick paint colors from a sample without doing these things first!
But picking paint colors is just the first step. When you go to paint a room, there are a few things you just have to do before you ever pick up a paint brush. And let me tell you, I’m guilty of skipping a few of these steps, and I’ve paid the price. It’s not fun to have paint flaking off because your little dust bunnies weren’t exterminated first!
Here are my tips for prepping your room like a pro. I’m not including things like drop-cloths or taping things off. This list is more about just getting your room ready for that kind of stuff. The real truth? I haven’t quite gotten that professional. #keepinitrealyo
How to Prep a Room for Paint like a Pro
1. First, clear your room of all the clutter.
In the foyer, I had to get rid of twenty-five baskets of music and loads of paper clutter. It wasn’t pretty. But I’ll say this… I’m on a decluttering binge, so most of that will NOT make it back in. No, m’am.
HotShot has his own mind and just goes wherever I go. There’s no decluttering him! He’s my buddy.
2. Take everything off the walls.
Remove all of your wall decorations, light plates, electrical plates, etc, as well as all of your nails, screws and sinkers.
I use my right angle driver from Ryobi. It makes it super easy to remove screws, especially in hard to reach places.
Having a right angle screwdriver is amazing. It makes removing all this stuff so much easier!
3. Corral all of your covers and screws.
For years, I just stuck my outlet covers and screws in a corner and hoped that they’d stay there. But inevitably, someone got a wild hair and decided to road trip it to never-never land. I got tired of my screws running away, so I started putting them in a big plastic zip-loc like these where they stay nice and tidy.
No more renegade screws! Mwahahahaha…
4. Dust your walls.
This is the main step I used to skip. Dust the walls? PUH-LEASE.
But, alas… it is most necessary. So do it. To make it easier, grab a Swiffer Sweeper and use it to go over all the walls. It makes it pretty darn painless.
You might could even recruit a 10 year old to help you with this step. You know… the age before they realize that cleaning stuff isn’t reeeeaaallly fun?
Oh, and if there are any goopy gunks, grab a wet rag and wash them off. Almost forgot that one. Consider that tip #4 1/2.
And be sure to do the next step. I know. I want to run screaming, too, but we all gotta grow up sometime.
5. Vacuum your baseboards.
NOOOOOOOOO!!!!
But… YEEEEEEEEEESSSSSS!
This step has particular angst for me. When I was a little girl, and we’d have those crisis cleaning sessions before parties and stuff, this was my job. I think we had more baseboards than the Palace of Versailles. PLUS, I wasn’t allowed to use the vacuum to do this. I had to do it with a dust rag and pledge. Can you hear the violins?
But what really stole the tamales, was that I had horrific allergies and had to wear a dust mask while doing it. Poor me.
Now it’s not such a chore with my Shark Liftaway. Vacuuming under the couch is so easy, now. My, how technology has improved!
6. Fix all your holes.
This is a game changer, now. I’m getting really good at this these days. Before I started doing this, I sort of cringed when I painted over my holes knowing that I was being a bad DIYer.
Now, I caulk and fill with this and then paint. It’s actually gratifying doing something the right way. Who knew!
7. Sand any rough spots on your walls.
In the picture below, you can see the result of another No-No. When I painted this wall 6 years ago, I was overly excited and screwed on my guitar hangers before the paint had a chance to cure.
When I pulled them off the wall for this update, the paint came with the hanger and I was left with an exposed patch of drywall. Not good. Especially with these ridiculous textured walls. {btw… I don’t care if having textured walls is “IN” right now, I hate them worse than a mosquito bite on a poison ivy rash}
I used some 120 grit sandpaper to lightly smooth the edges and it worked like a charm. Can’t even see the mess now.
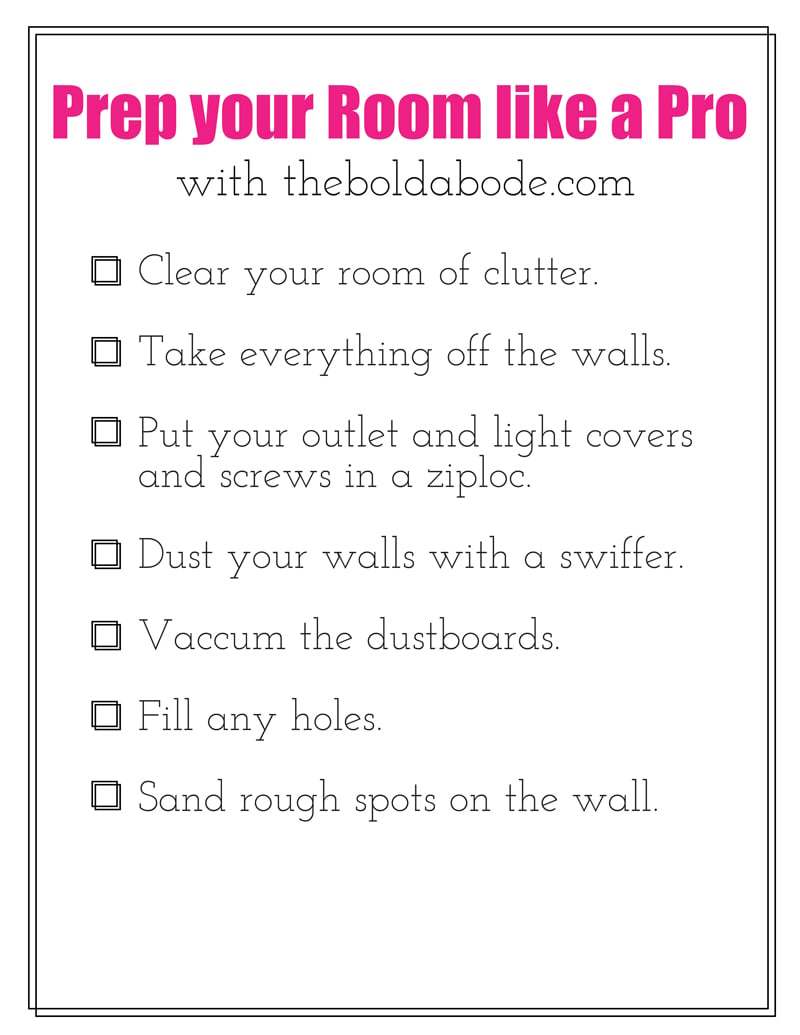
So the next time you paint, before you ever pick up that paintbrush and get moving, print this list off and double check to make sure you’ve prepped your room like a pro!
Just click this link or the image below to download and print.
So… did I forget anything? Let me know down in the comments what else you do when you prep a room to paint!
Check these out for more DIY tips:


You are not supposed to paint high gloss paint on high gloss paint, so the wall needs prep if you’re going to do that. You can either use some chemical, or sand it down well.
Thanks for the tip, Kerry!
i always screw the screws back in the plugs or the switches that way i know where they are at. Also i always tape the top of the baseboards, this is to keep splatters off of them when ;you roll the walls.
Thanks for the tip, Diane!
I save all the long postcards/advertisements that come in the mail. They are great for protecting tight areas where i can’t tape before painting.
Great advice, Sue. Thanks for sharing!
Gwen
Sometimes vacuuming the baseboards is the step before washing the baseboards. At my house the baseboards might only get washed the day before paint day, what I call my prep day…that way I’m not tempted to rush thru the pesky preparations in anticipation of seeing the color hit the walls.
I agree, Suellen! I vacuum my tub before I clean it. I don’t ever use it and the kitty loves it, so ergo the need for the vacuum!
xoxo
Gwen
Also you need to get the dust off the top of your windowsills and clean off the top of the door and closet . I learned the hard way!
For the stubborn dust on baseboards, magic erasers work wonders.